打造最强windows开发环境
所谓工欲善其事必先利其器,作为一个三年的开发人员,无论是对于linux开发平台的便捷深信不疑,所以该如何把windows也打造成linux那般开发神器?
本教程所支持的平台为Windows 10 Build2004及以上版本
如果你的电脑操作系统版本不是该版本,那么你有两个选择确保一下不会出现问题
- 加入Windows预览体验计划,选择慢的分支
- 等到今年四月份Windows会推送build2004的版本,更新到该版本之后再来看该指南
开启windows的WSL
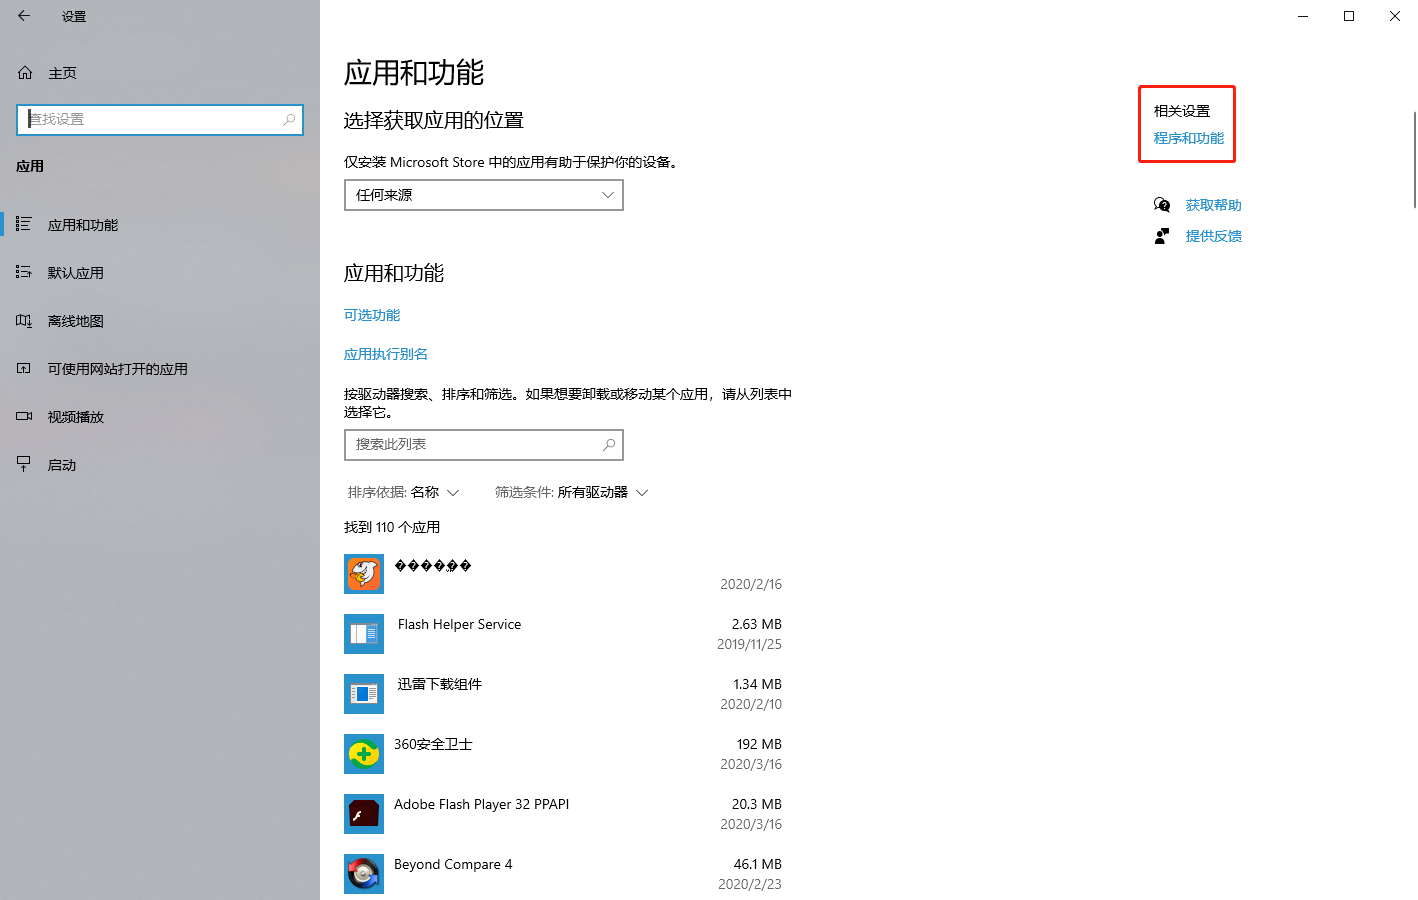
在 Windows设置页面 > 选择应用 > 找到应用与功能
然后在启用或者关闭 Windows 功能中选择开启 > 适用于 Linux 的 Windows 子系统(这里说的就是 Windows Subsystem Linux)
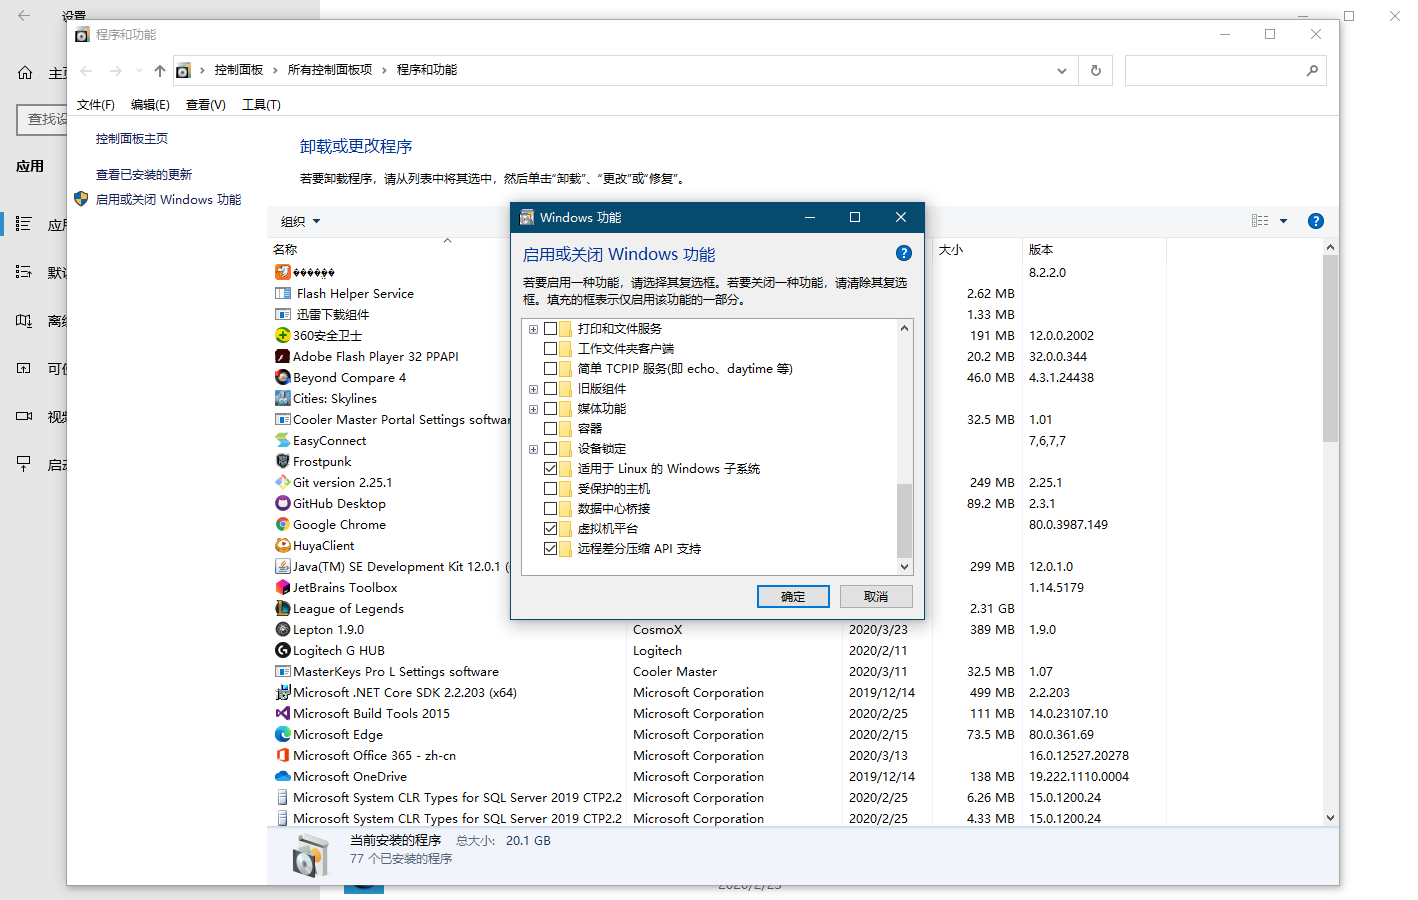
点击确定后会重新启动 Windows ,这个期间什么都不用做,就等待就好了~
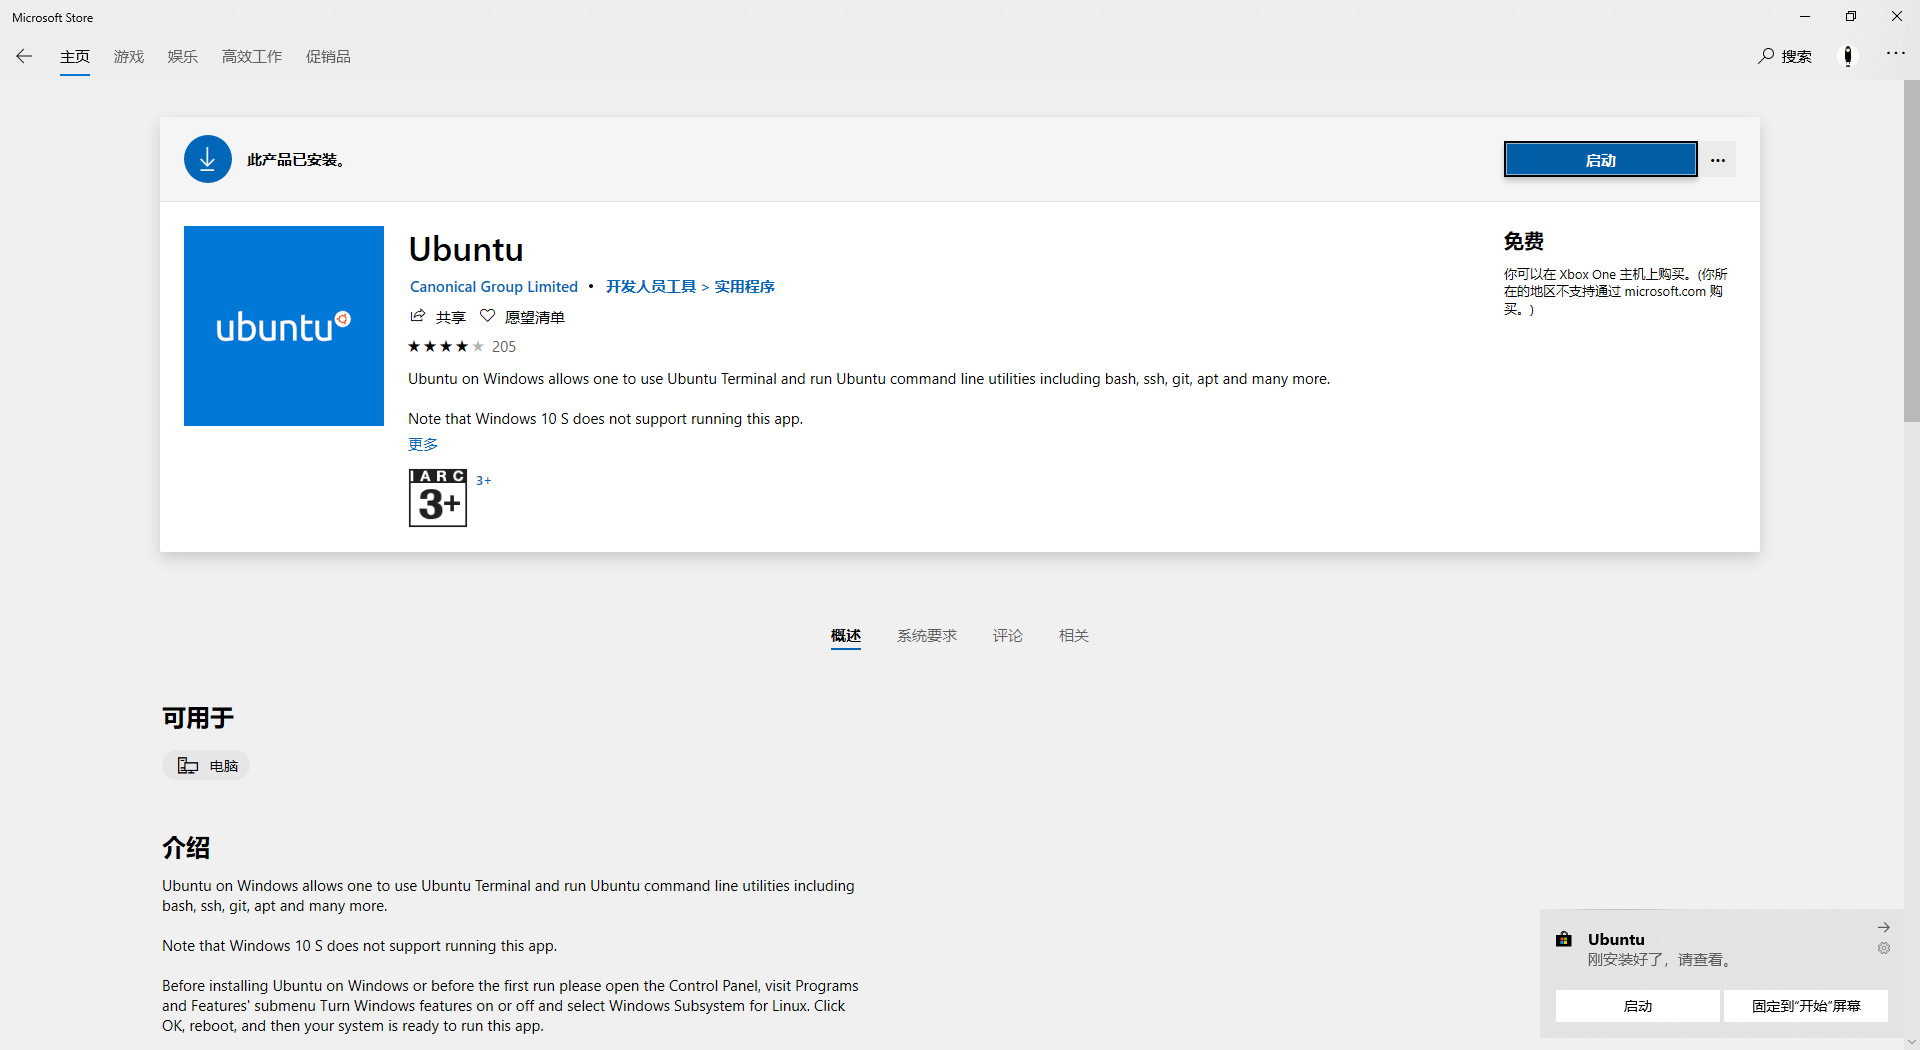
安装心仪的 Linux(Ubuntu)
然后打开 Windows 的 Microsoft Store 搜索 WSL 就好,出现以下界面
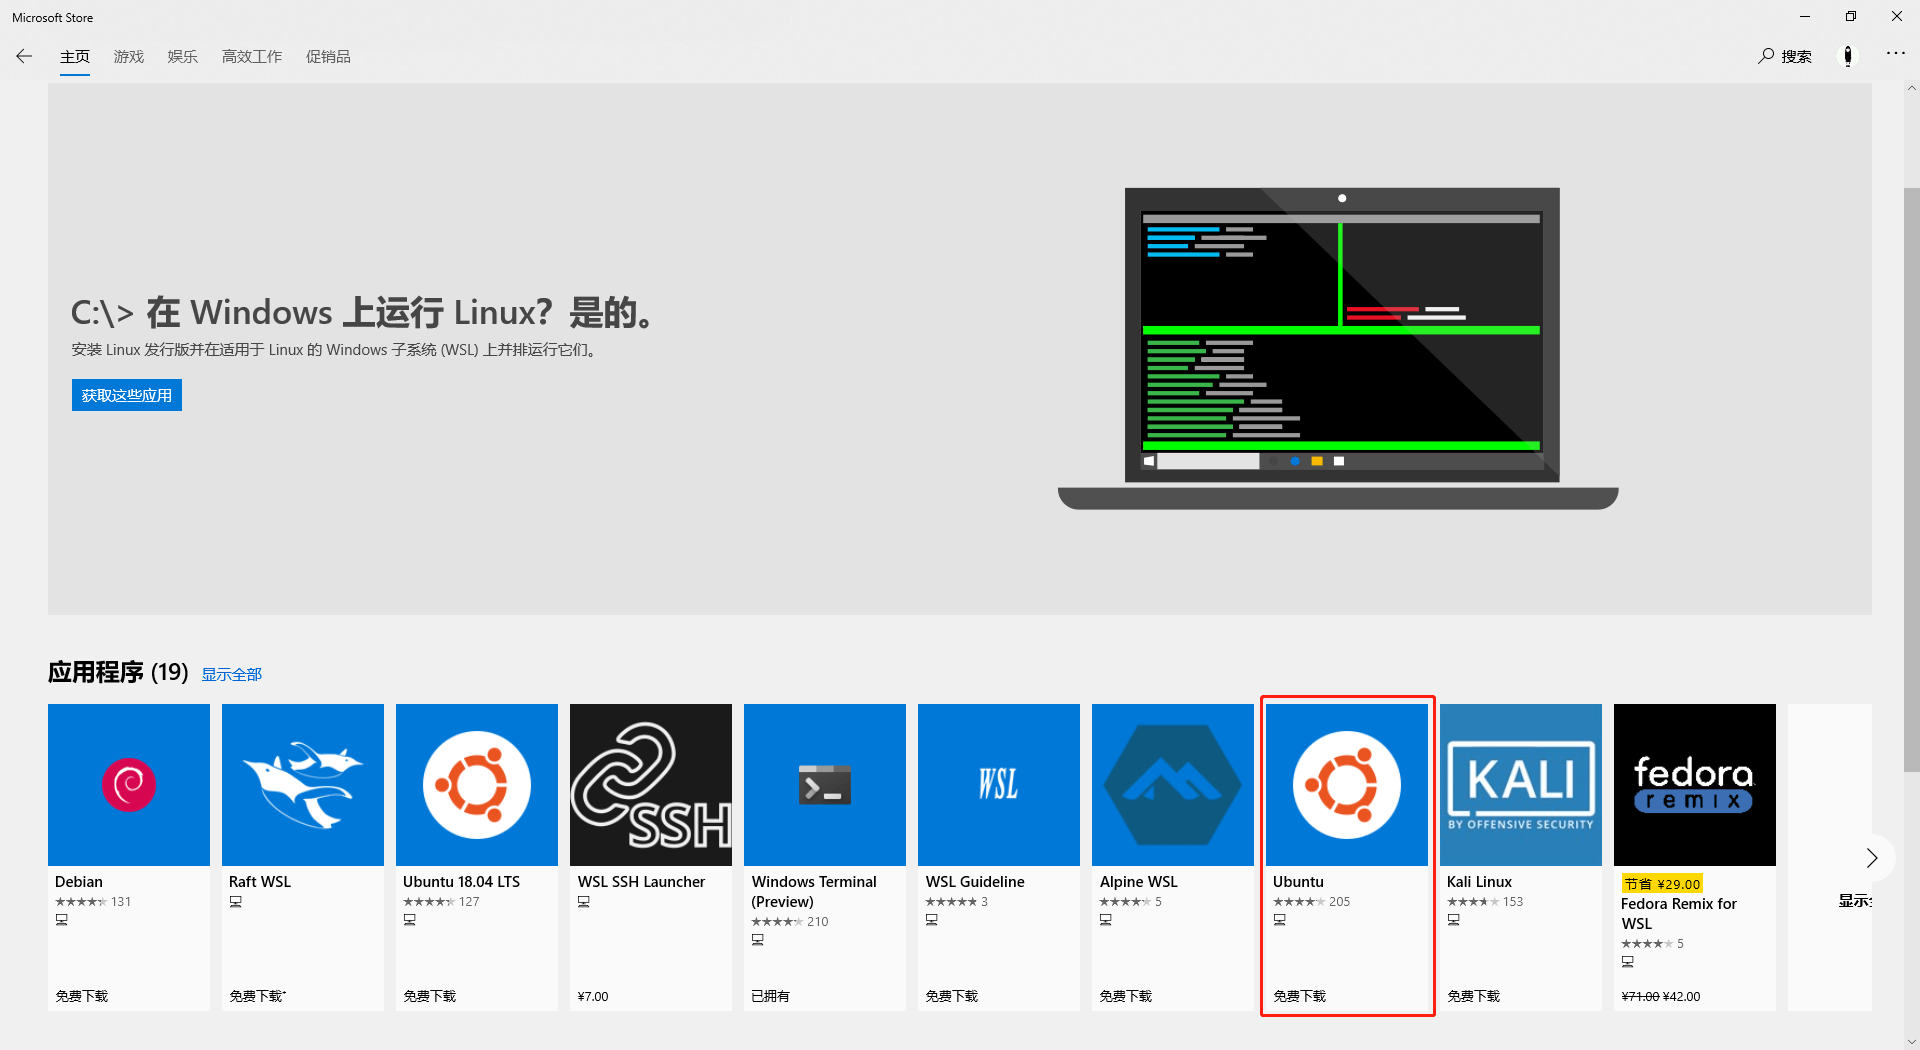
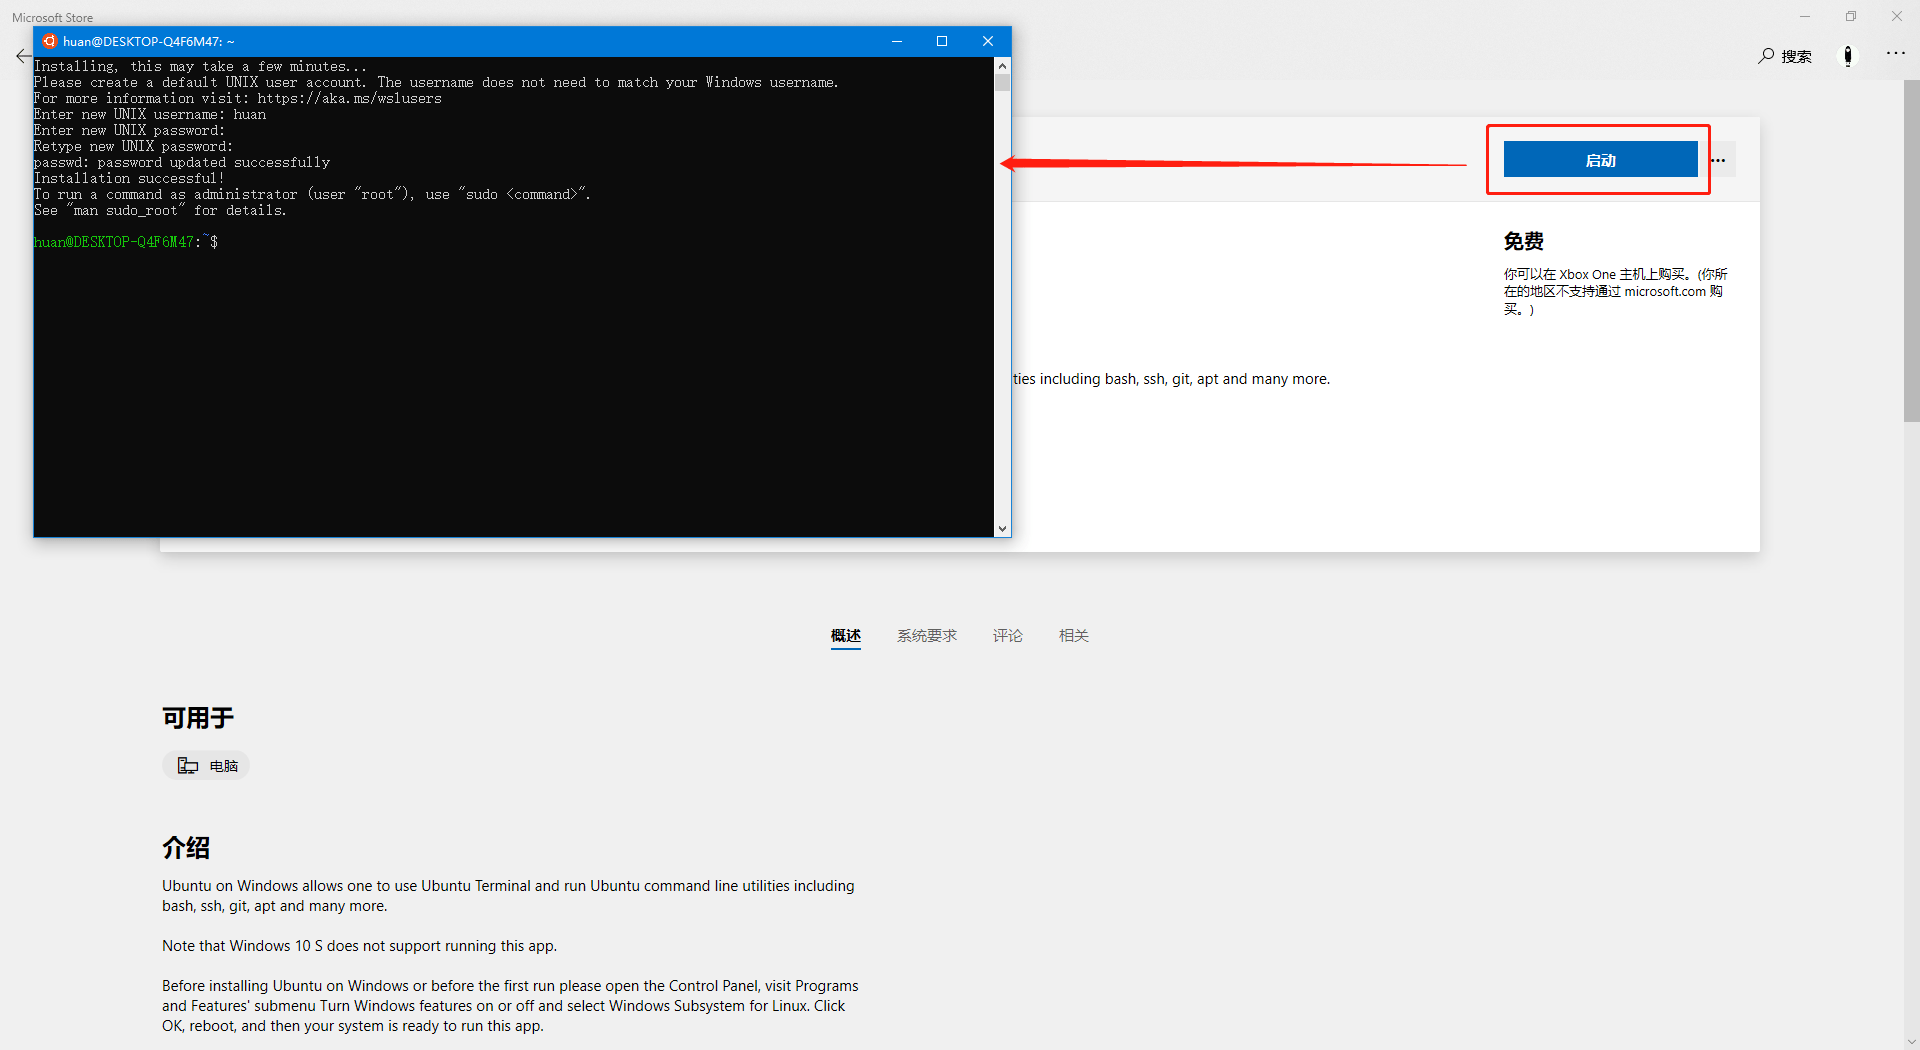
这个步骤具体要看你的网速怎么样了,顺便提一句,微软商城里面下载的速度轻易不要相信,因为有时候会将系统的IO也算进去,所以不准确。安装完成后启动 Linux
这个时候会要求你配置默认账户,按照要求敲下去就行了,这里也顺便提一句,如果不设置直接关闭的话,以后你都会以默认root用户打开 WSL,虽然会很方便,但是不建议这么使用
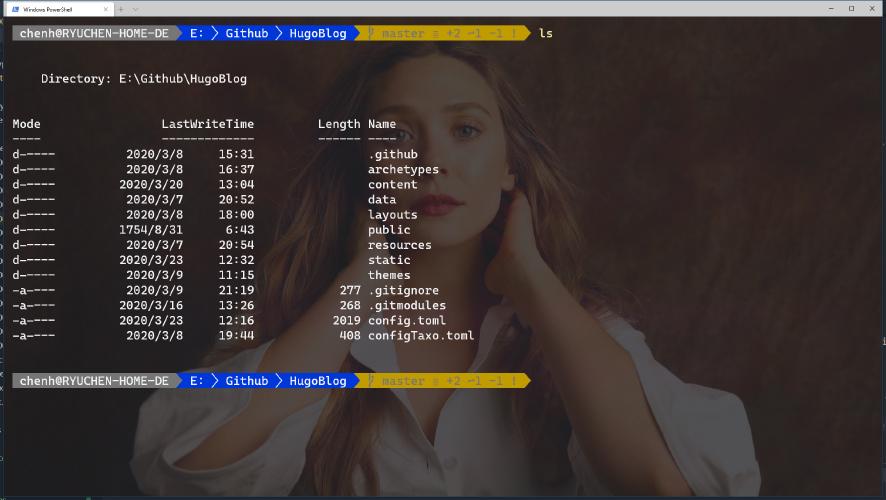
配置好之后我们打开 Powershell 测试一下 WSL,可以查看到如下的输出,就说明没有问题了.

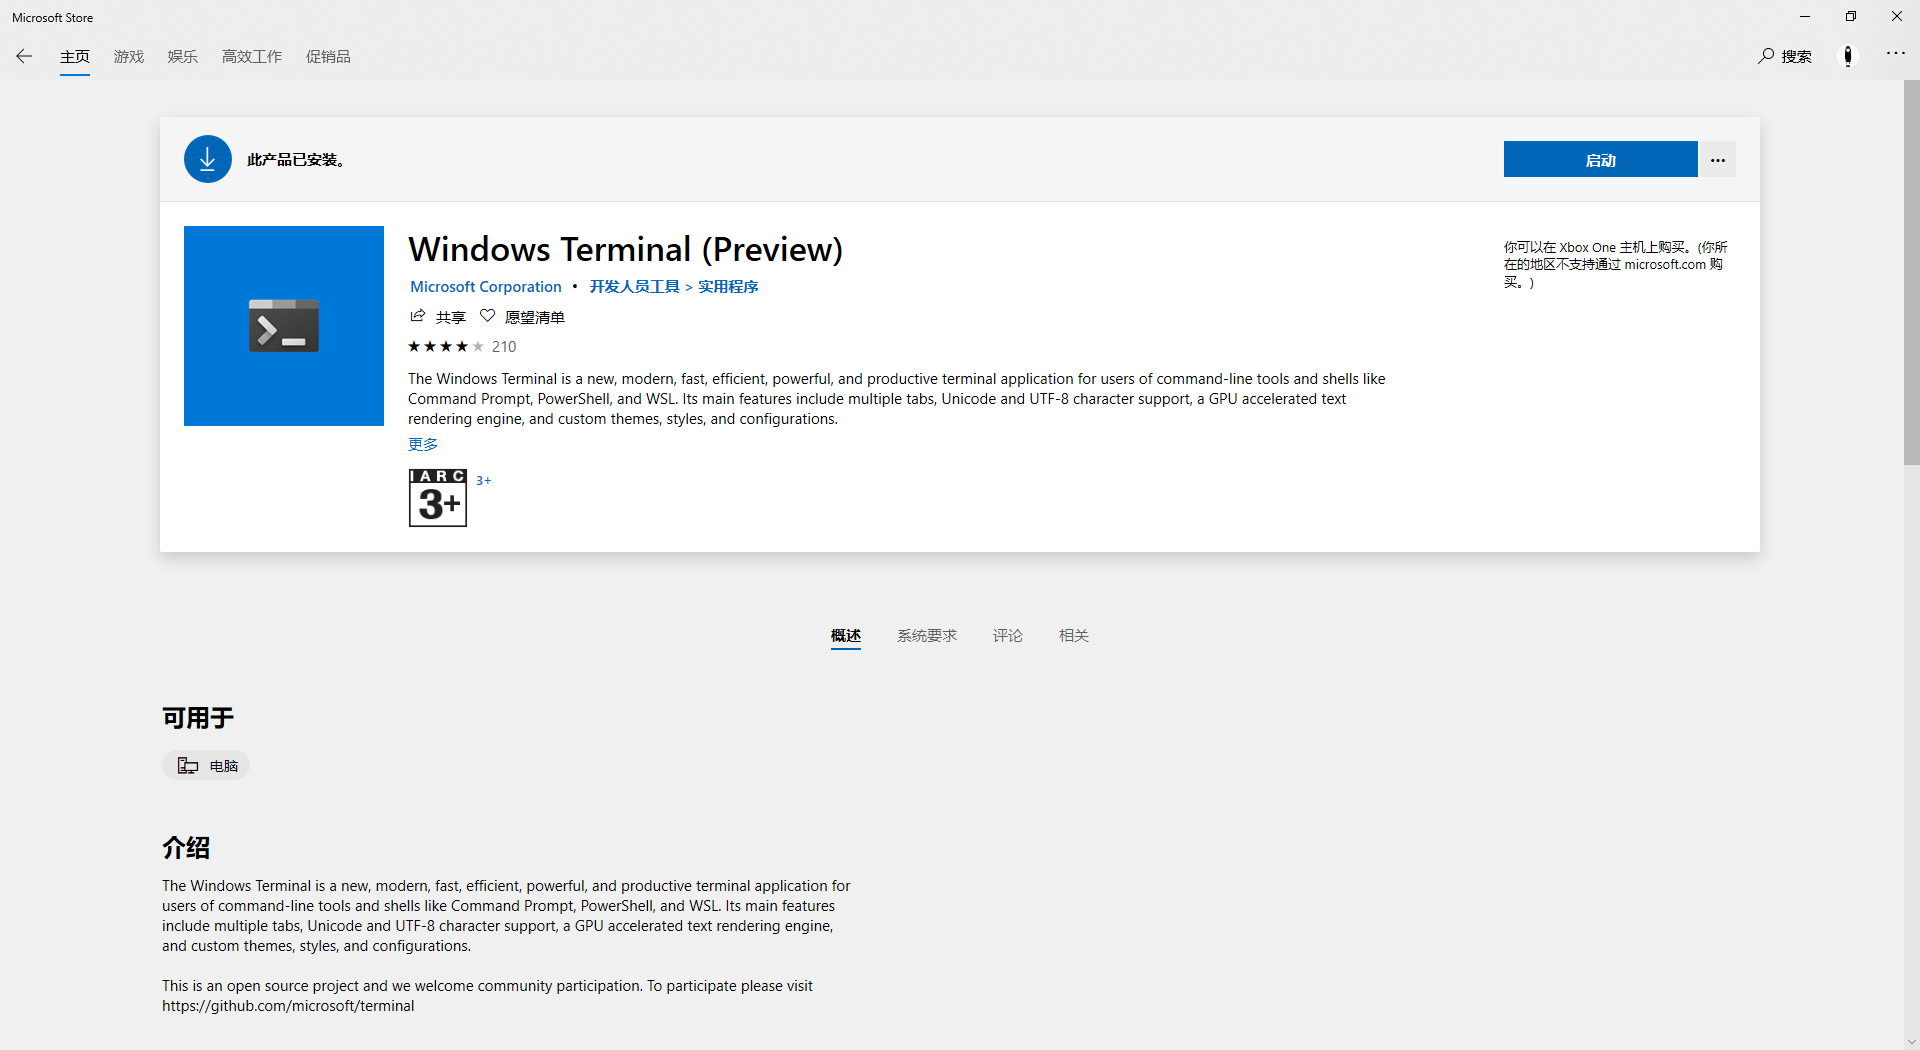
安装 Windows Terminal
微软官方还出品了最强的 Windows 平台下的 Terminal 工具,我个人在这里是强烈推荐使用,上瘾~~~
然后我们配置一下 Windows Terminal 默认打开 Linux 时的路径
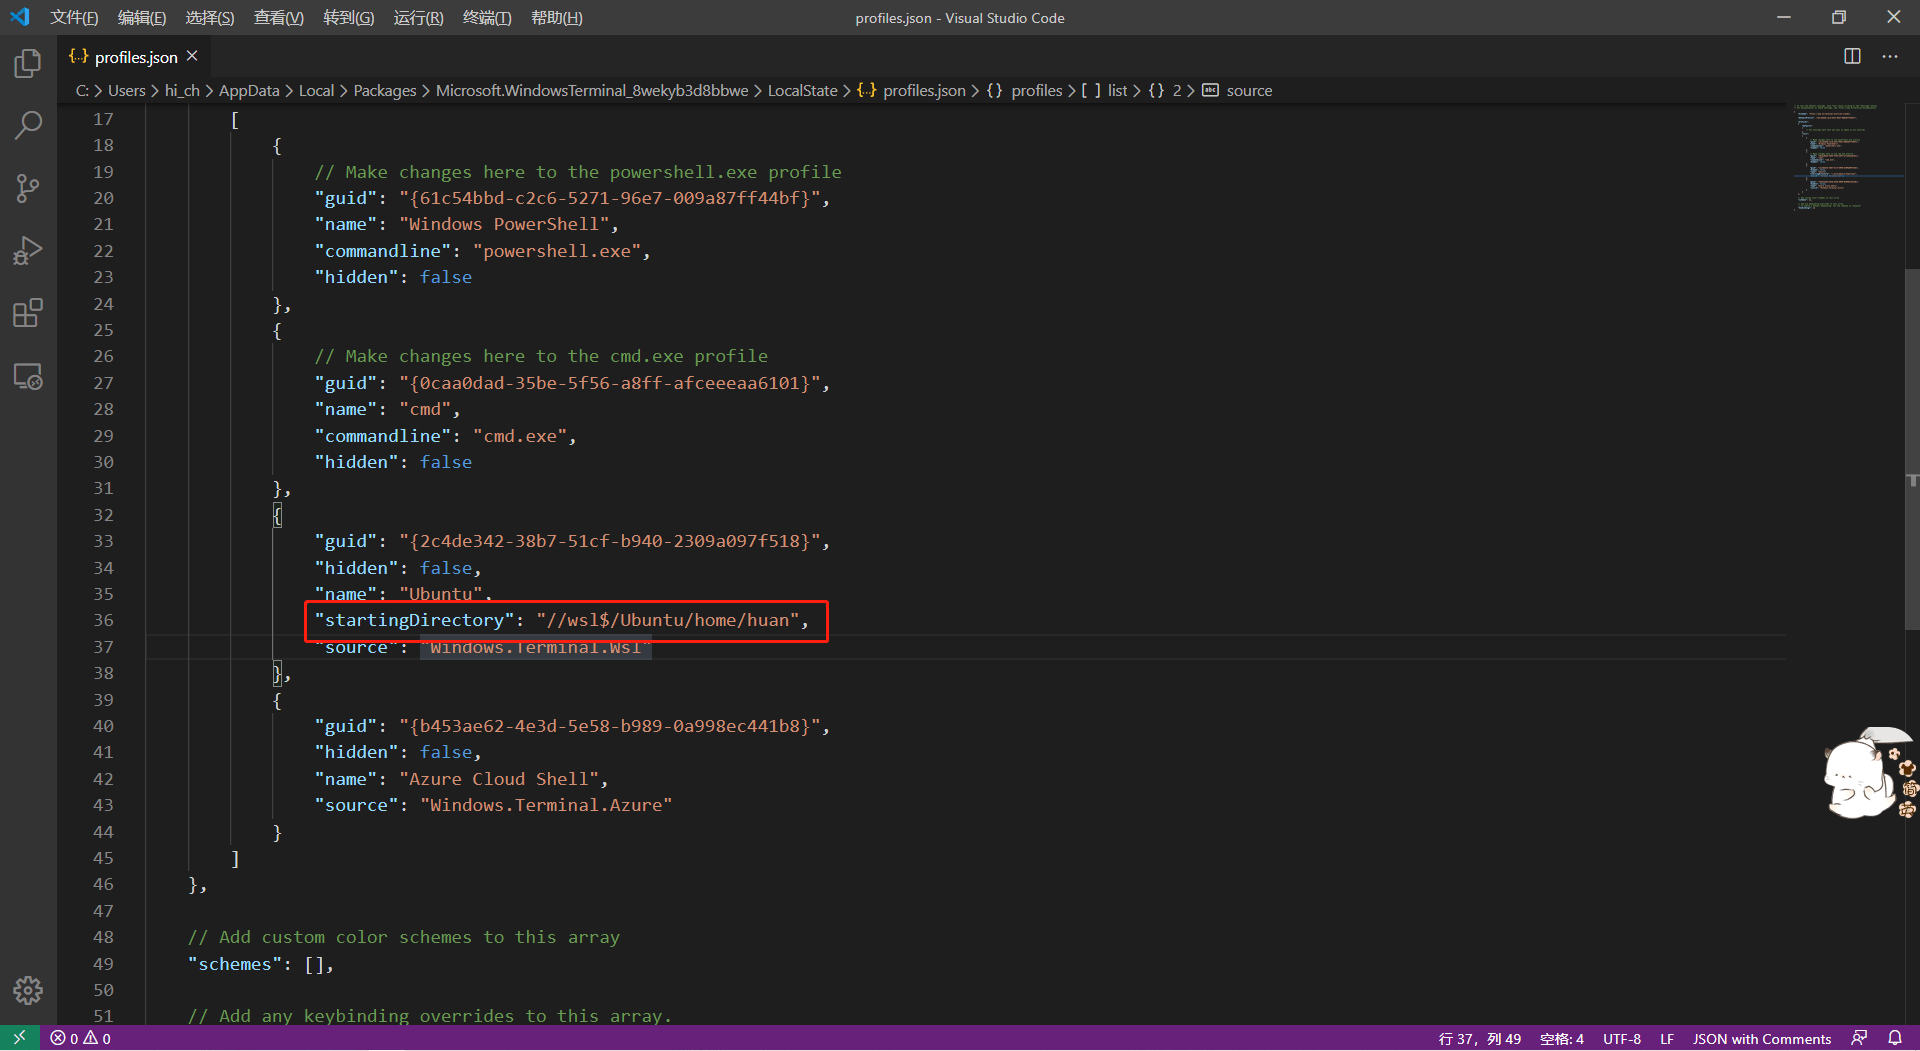
网上有很多关于 Ternimal 的 Profile 分享了,帮你美化你的命令行,这里我也附上我的配置文件,可以作为参考~
Linux(Ubuntu) 环境配置
安装好我们的 Linux 和 Terminal 之后,就是如何将我们的 Linux 打造成开发利器了,这里简单的举例说明一下(Python环境)
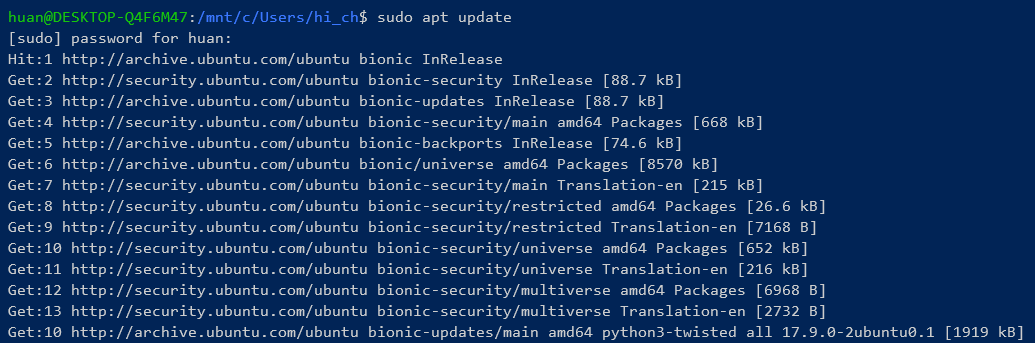
首先当然是将我们的Linux环境清理一下:


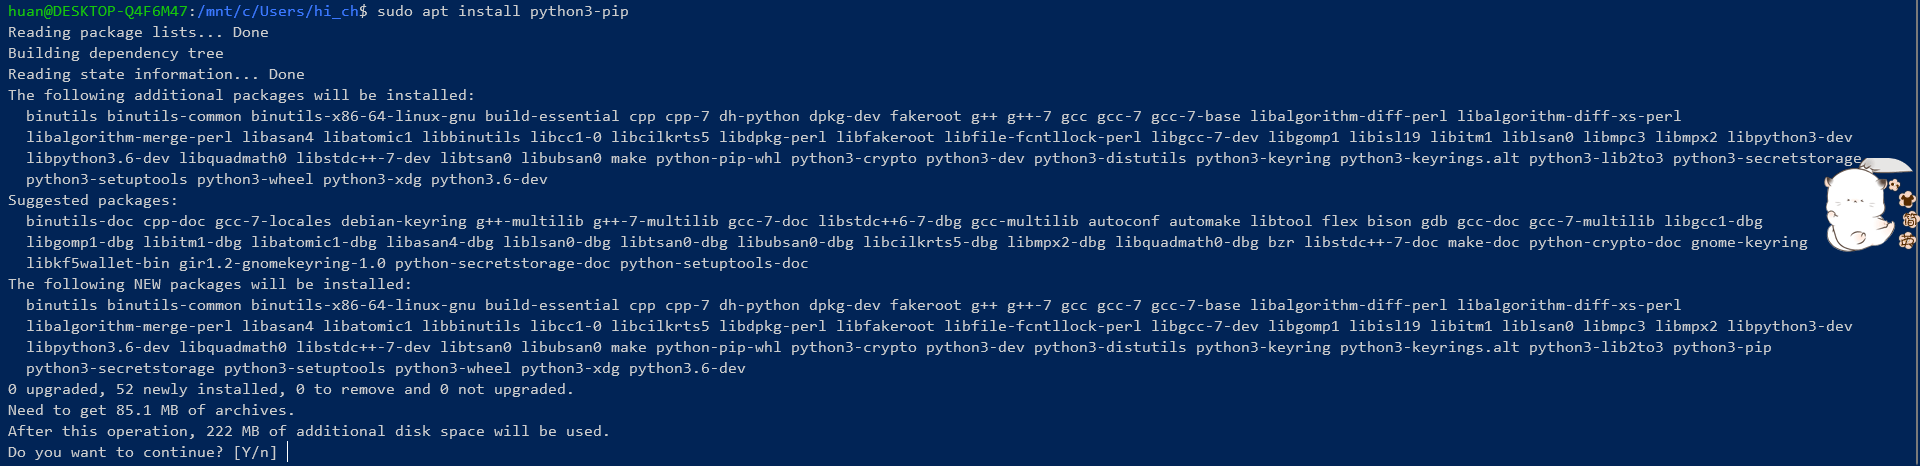
其次是安装多版本的Python环境:

这里安装的是默认 Python2.7.x 的 Python 开发环境包

这里安装的是默认 Python3.8.x 的 Python 开发环境包
这里安装的是默认 Python3.6.x 的 Python 开发环境包
之后是安装所需要的Linux开发包:
这里就不截图了,粘贴一下我认为最基础的开发环境包
sudo apt install virtualenv vim build-essential asciidoc binutils bzip2 gawk gettext git libncurses5-dev libz-dev patch unzip p7zip p7zip-full
最后是补充一项,这个是我推荐安装的,因为本人喜欢使用systemd作为linux的进程管理工具,所以找到了这个项目能够帮助WSL运行systemd指令
Thanks to genie URL: https://github.com/arkane-systems/genie
如果你是使用 Build2004 版本的检查一下你的 WSL 的 version
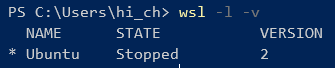
如果很不幸你是 WSL 1 的版本,请您按照 微软的官方指南 切换到 WSL 2 版本
需要指出的是WSL1是一套不完整的类容器化的Linux,但是到了WSL2微软将其切换到了Hype-V实现的Linux虚拟机,虽然是虚拟机了,但是仍然有一些功能是不完整的,需要稍微注意下
打开上面的链接,进入到项目的 readme 页面,找到自己对应的 Linux 发行版本进行安装
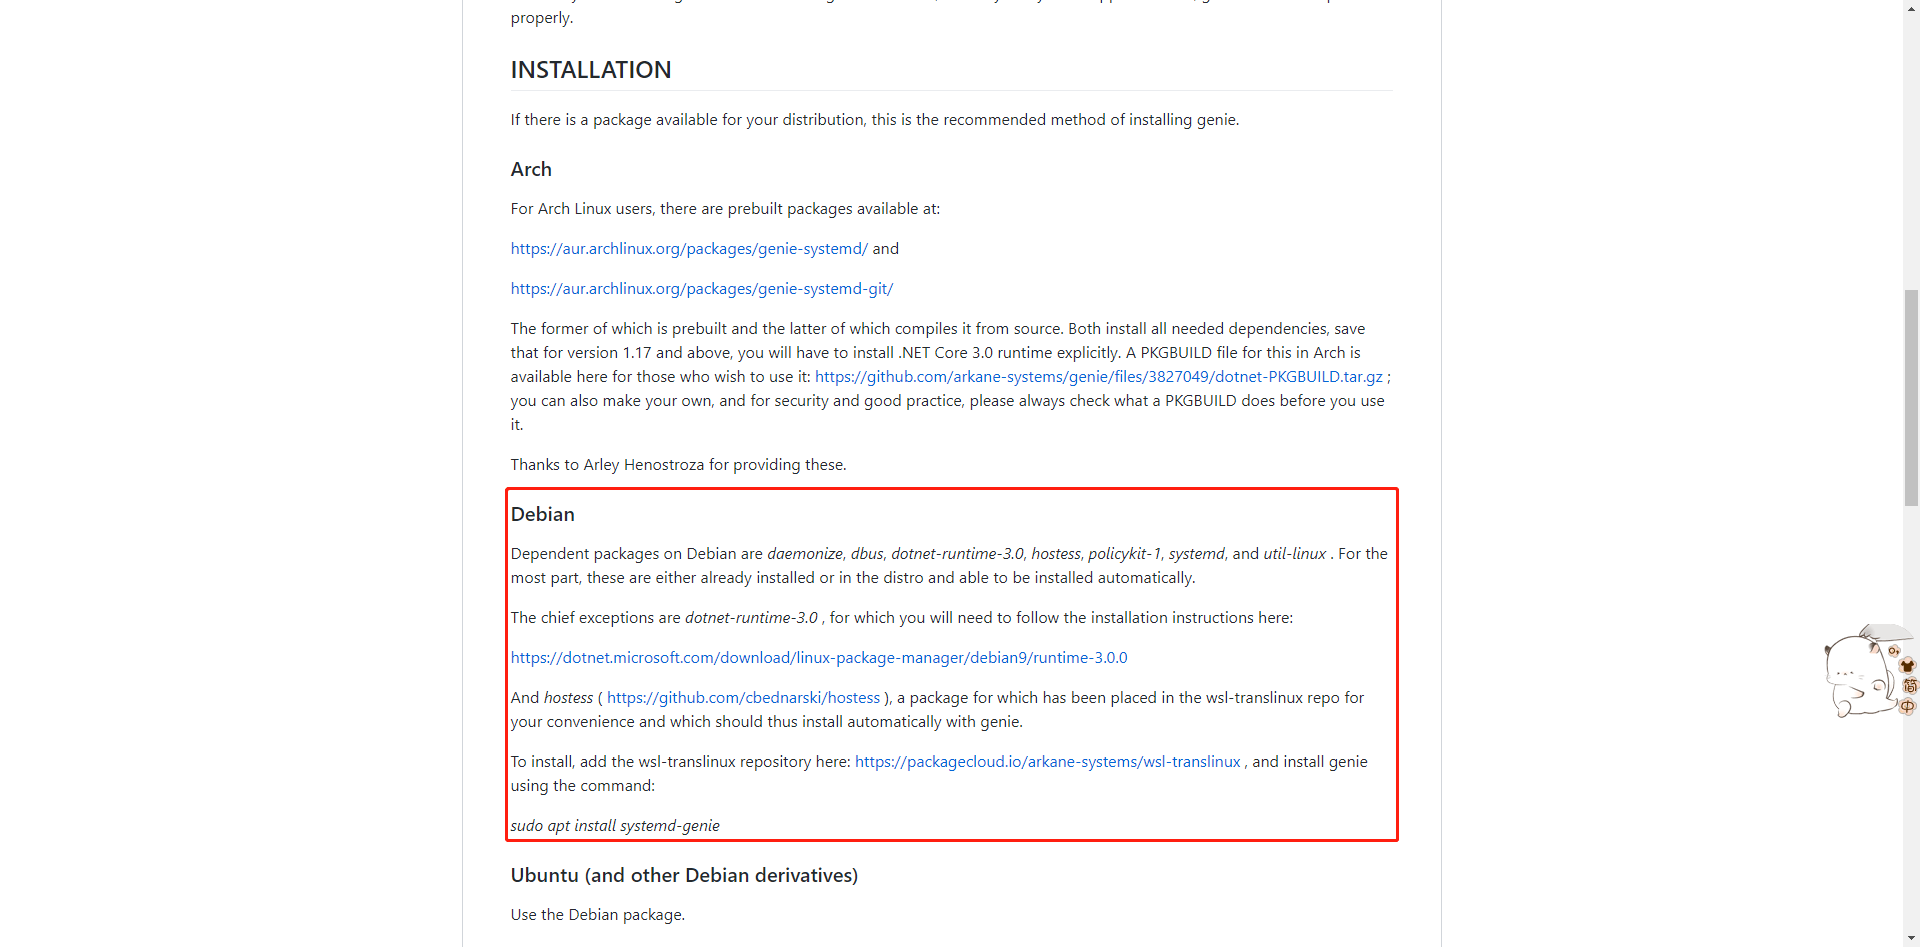
安装 Linux 下 .Net 运行时环境
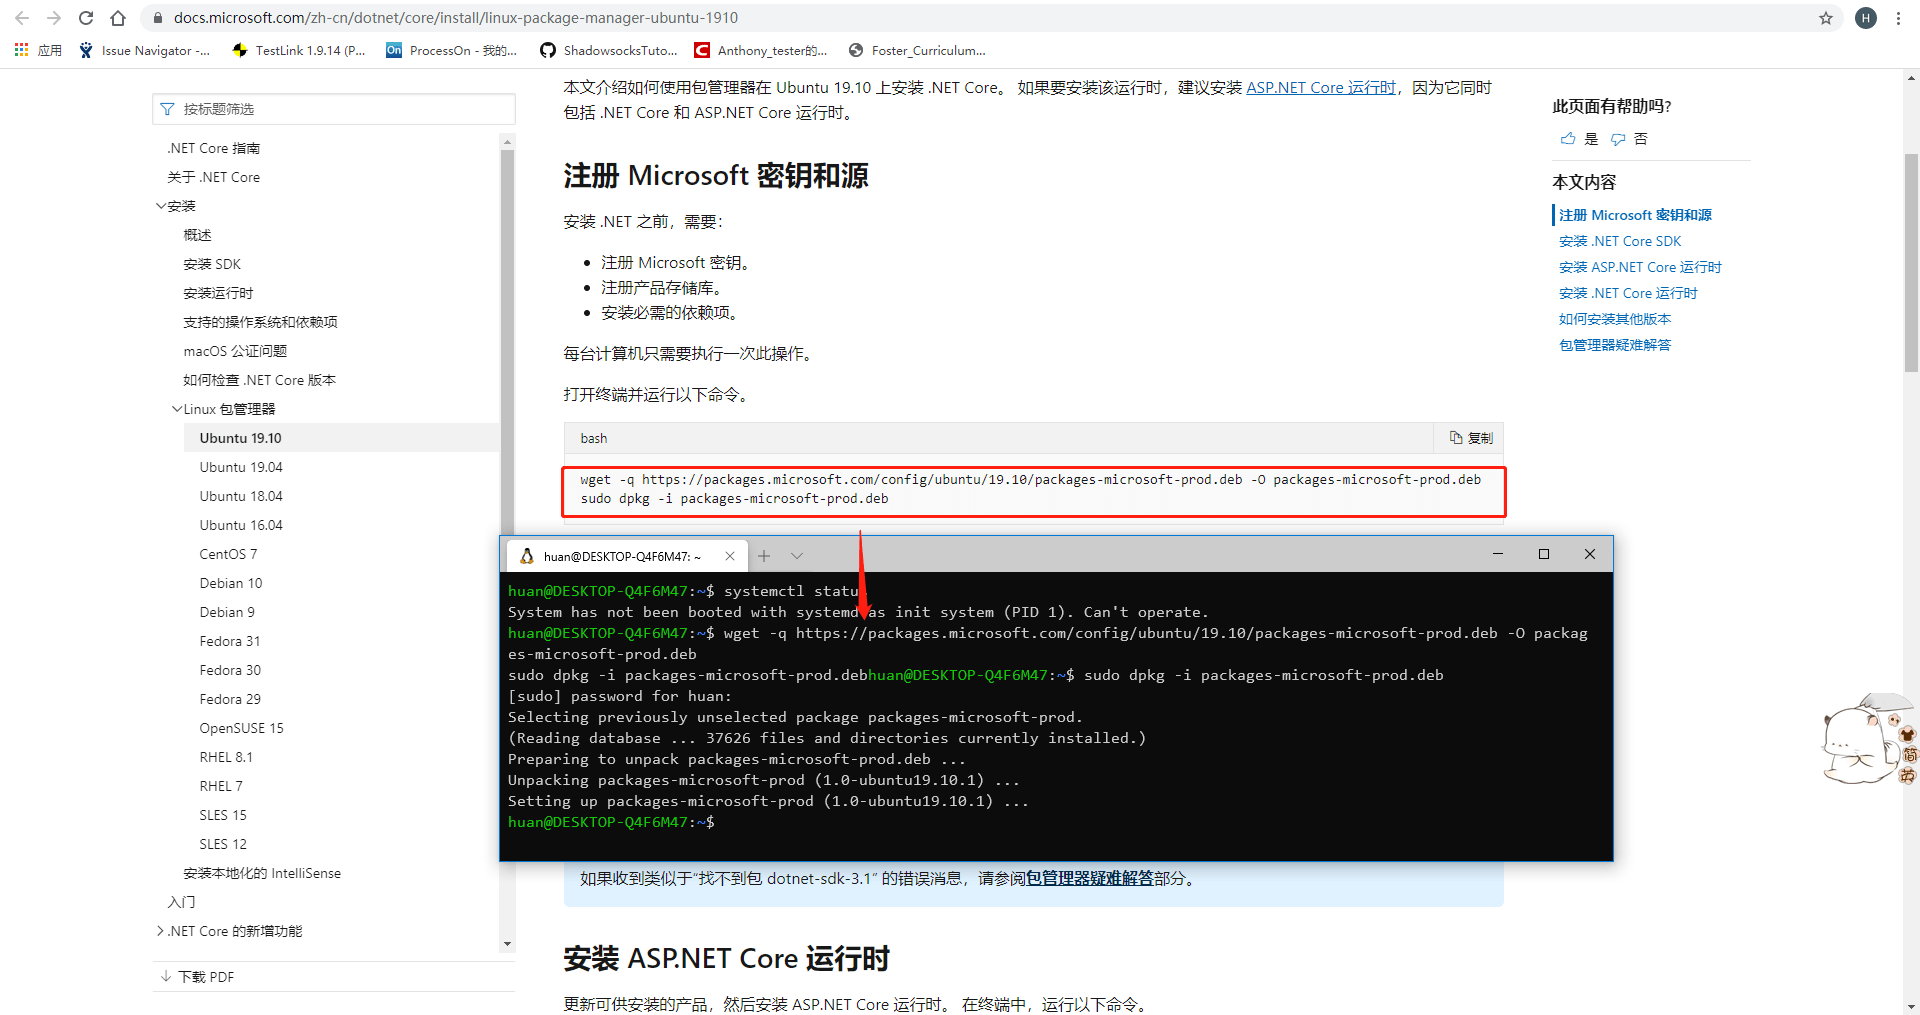
配置微软的软件包源
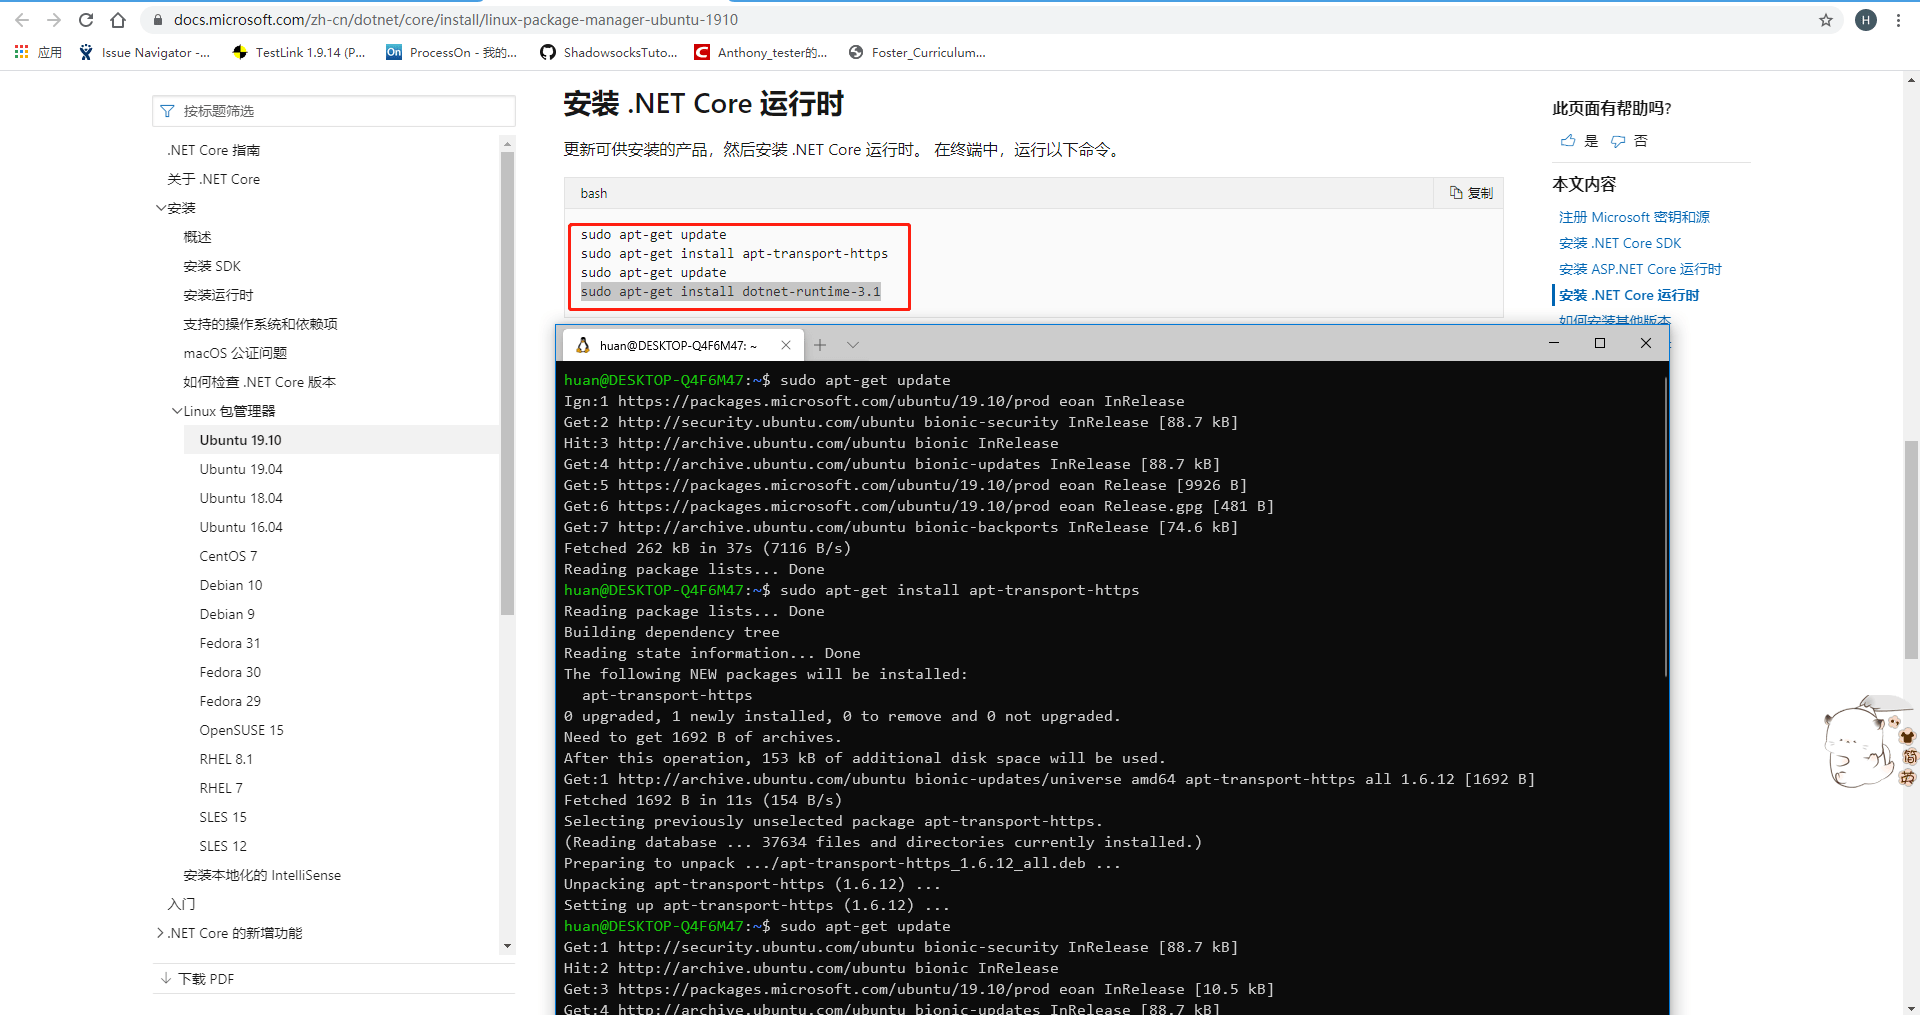
安装 dotnet 运行时
安装 genie 软件包
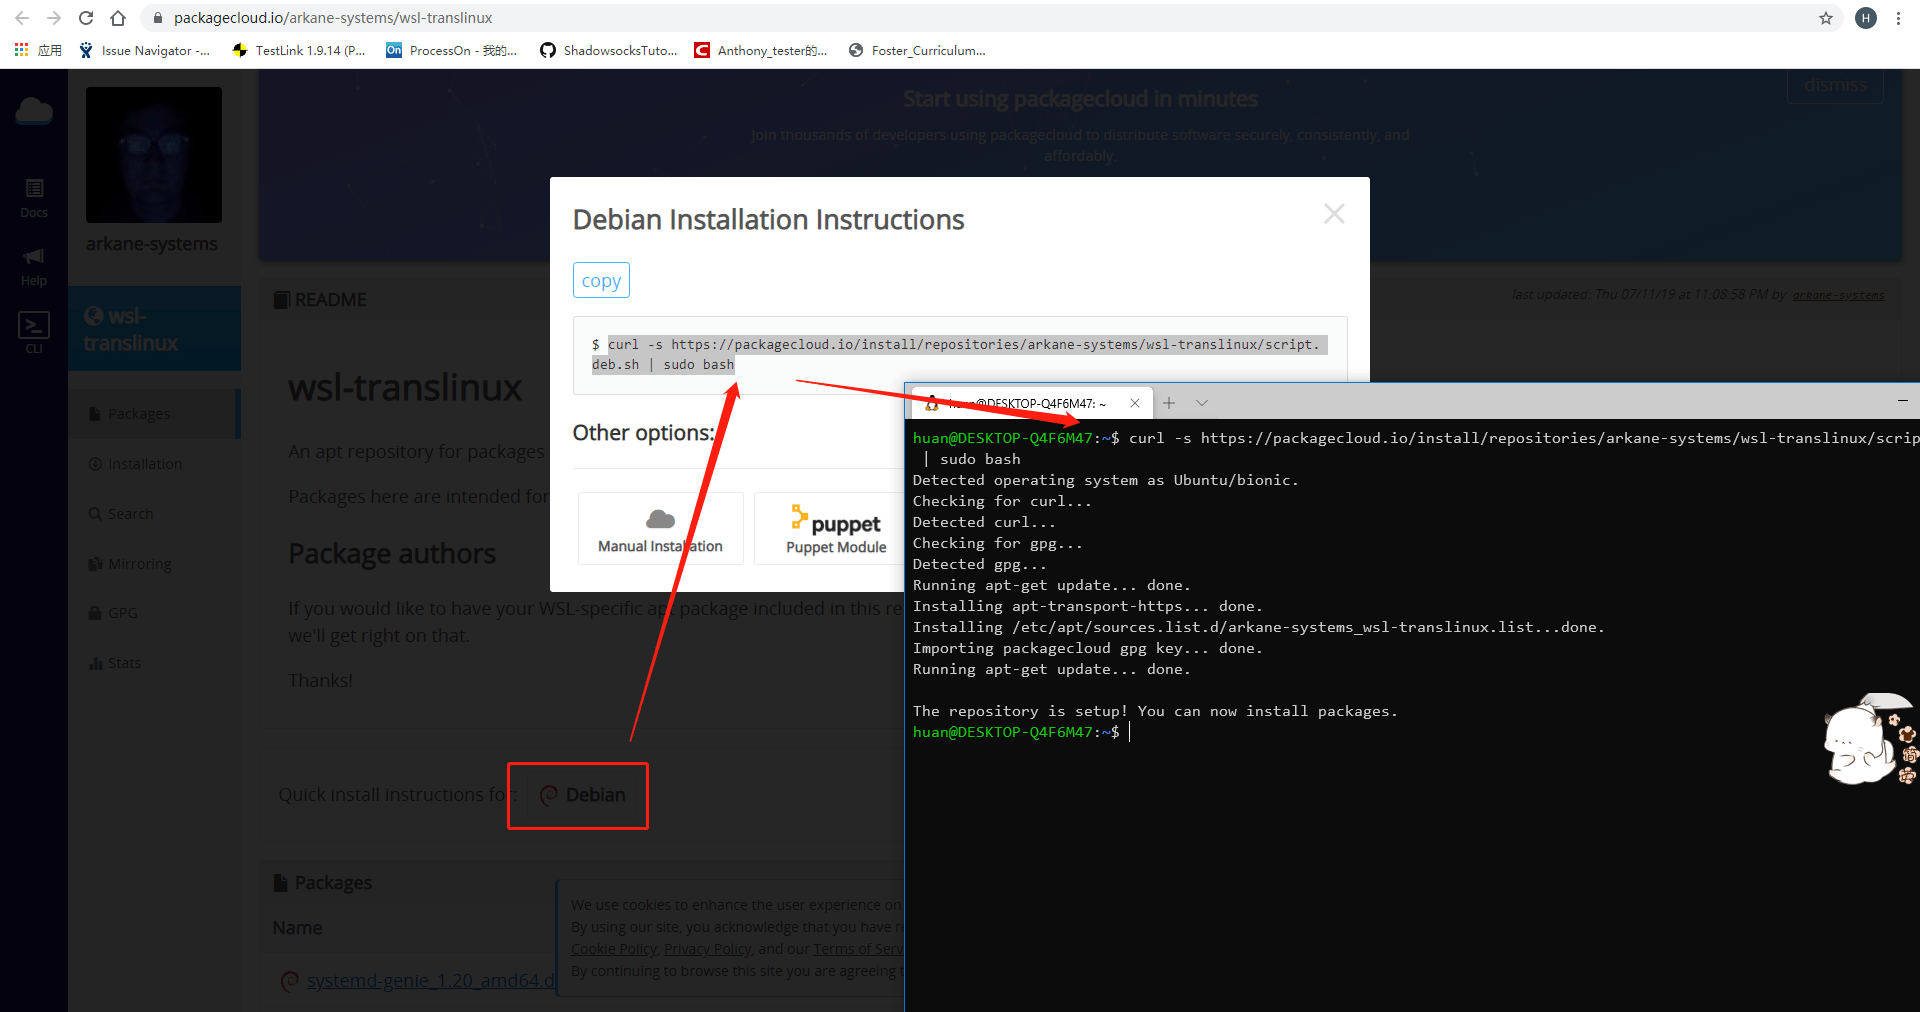
配置genie的软件包源
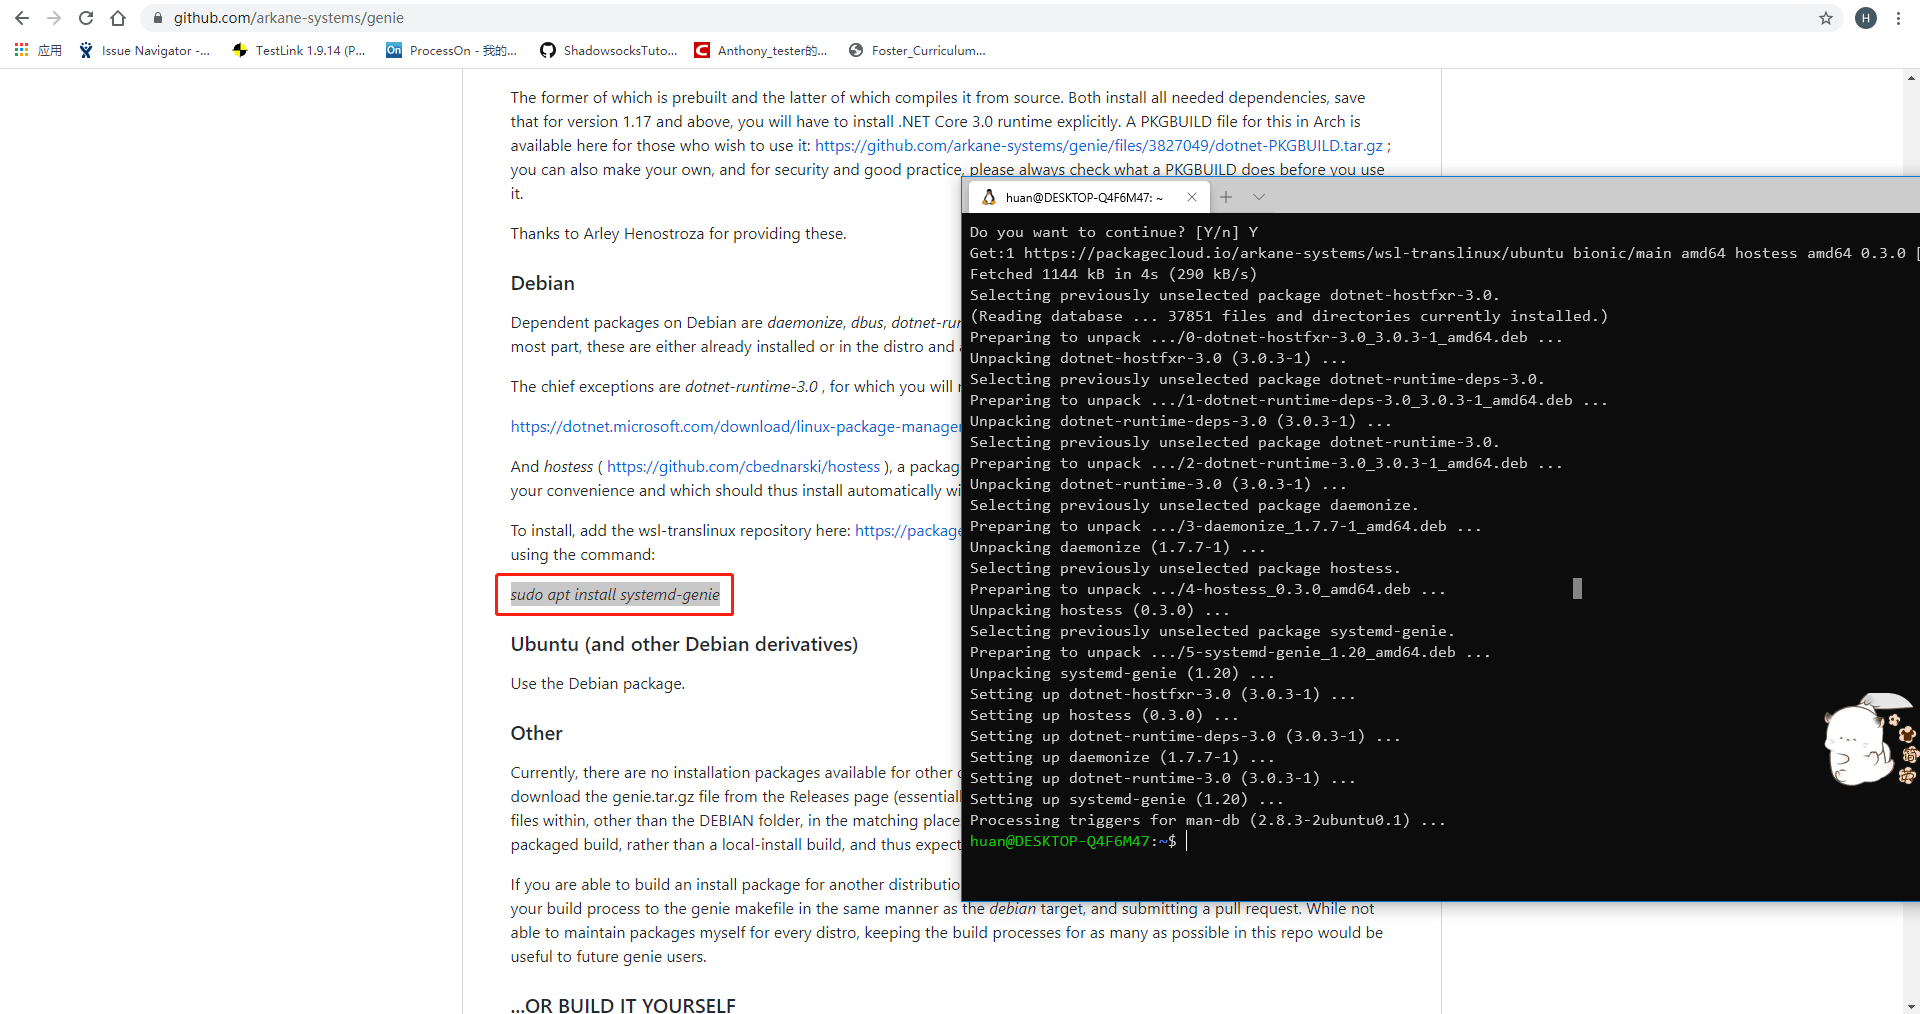
安装genie
然后为了能够方便使用 genie 我们创建一个 bash_aliases 简短指令,这个步骤建议在root用户权限下,避免软件进程的启动用户问题

编辑 aliases 文件
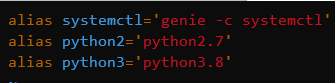
aliases 文件内容
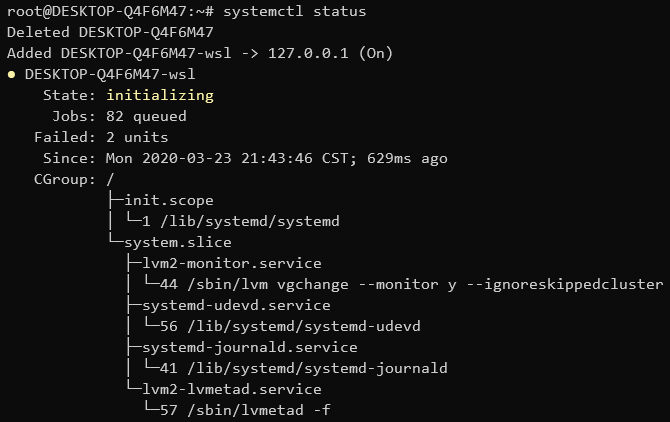
最后我们看一下当前这个 Linux 是否拥有 systemd 指令
Virtualenv 使用
通过上述复杂的过程我们终于把 Linux 环境配置好之后,针对具体的开发任务有具体的环境配置要求,对于以Python为例子来说,virtualenv 是必须要使用的工具,所以我们简要概述一下 virtualenv 的使用
创建 virtualenv 环境

启用 virtualenv 环境

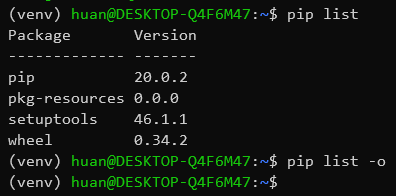
检查 virtualenv 环境
VS Code Remote模式
Linux 环境配置好之后,我们在 Windows 上使用的开发 IDE 当然也是微软出品的 VS Code,这个官网下载就行了,免费、轻便、好用,但是在 Windows 环境下安装之后,如何连接到我们的 WSL 中呢?
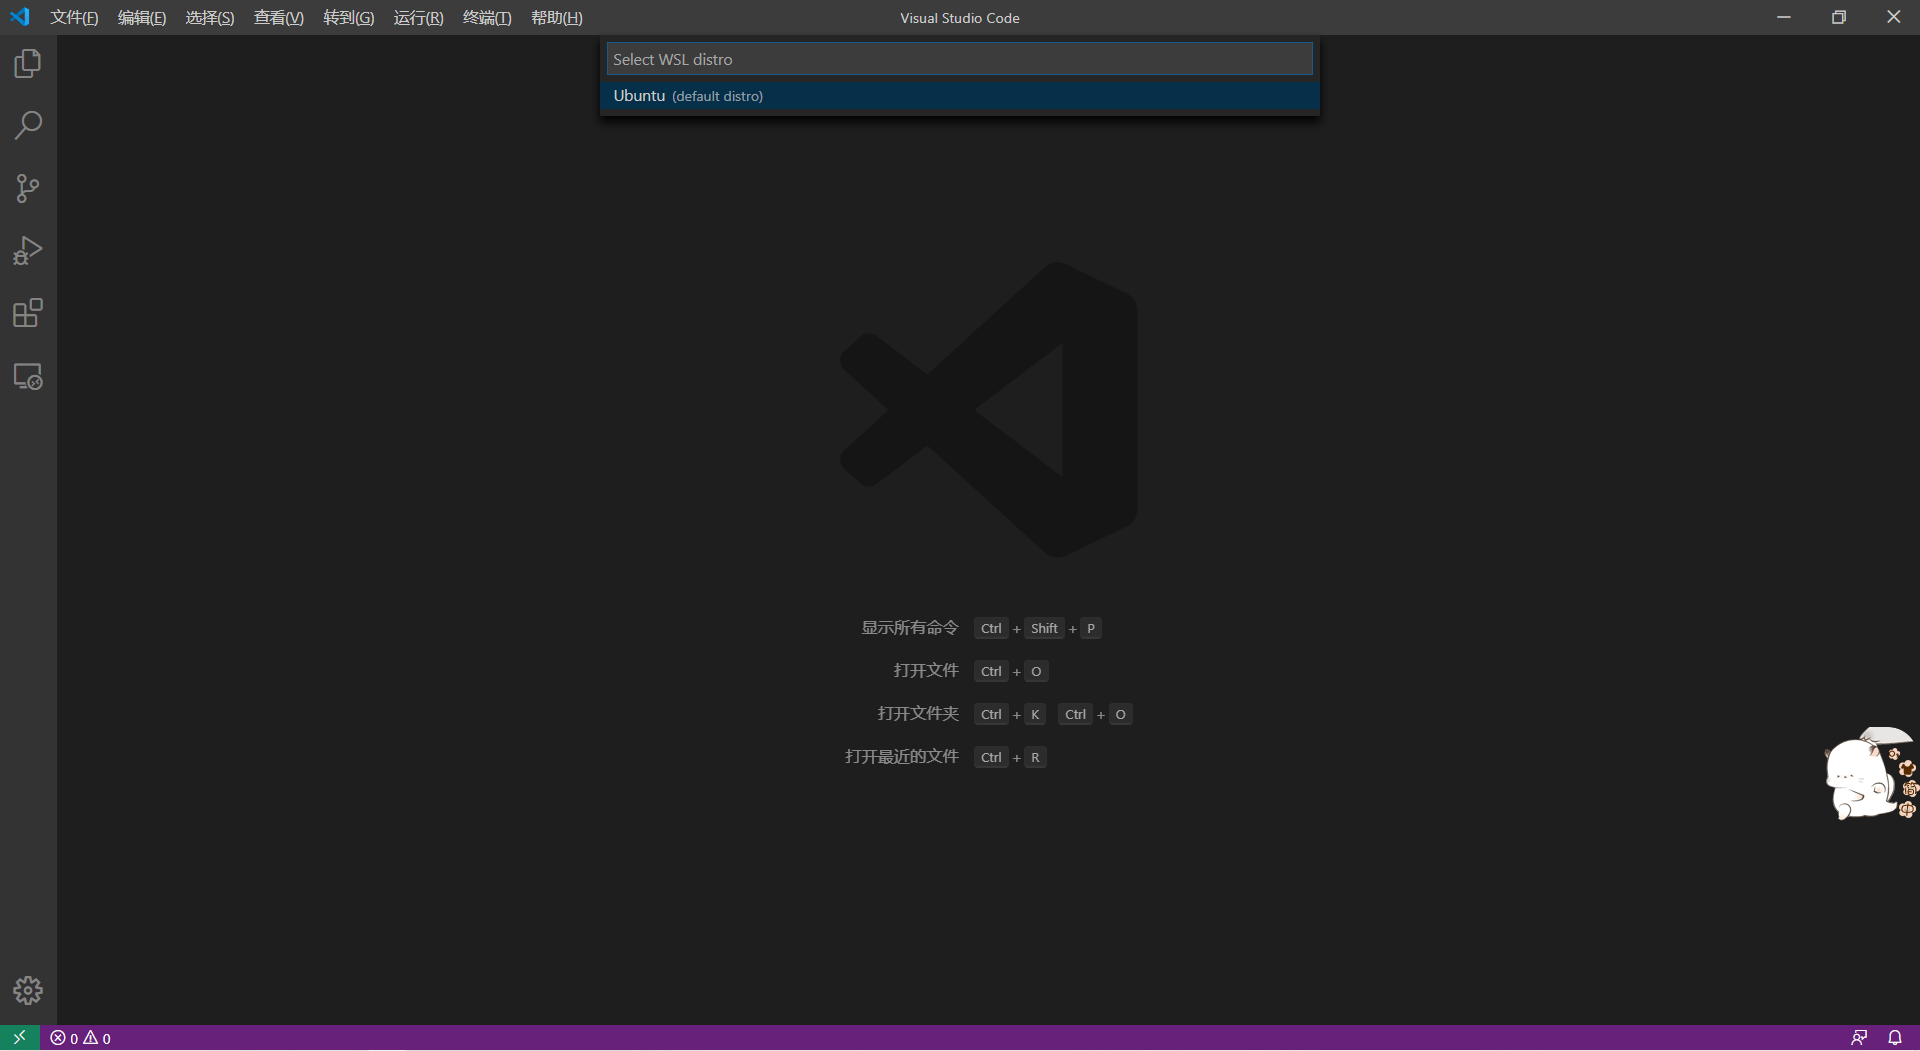
打开 VS Code 切换到 Remote WSL 模式
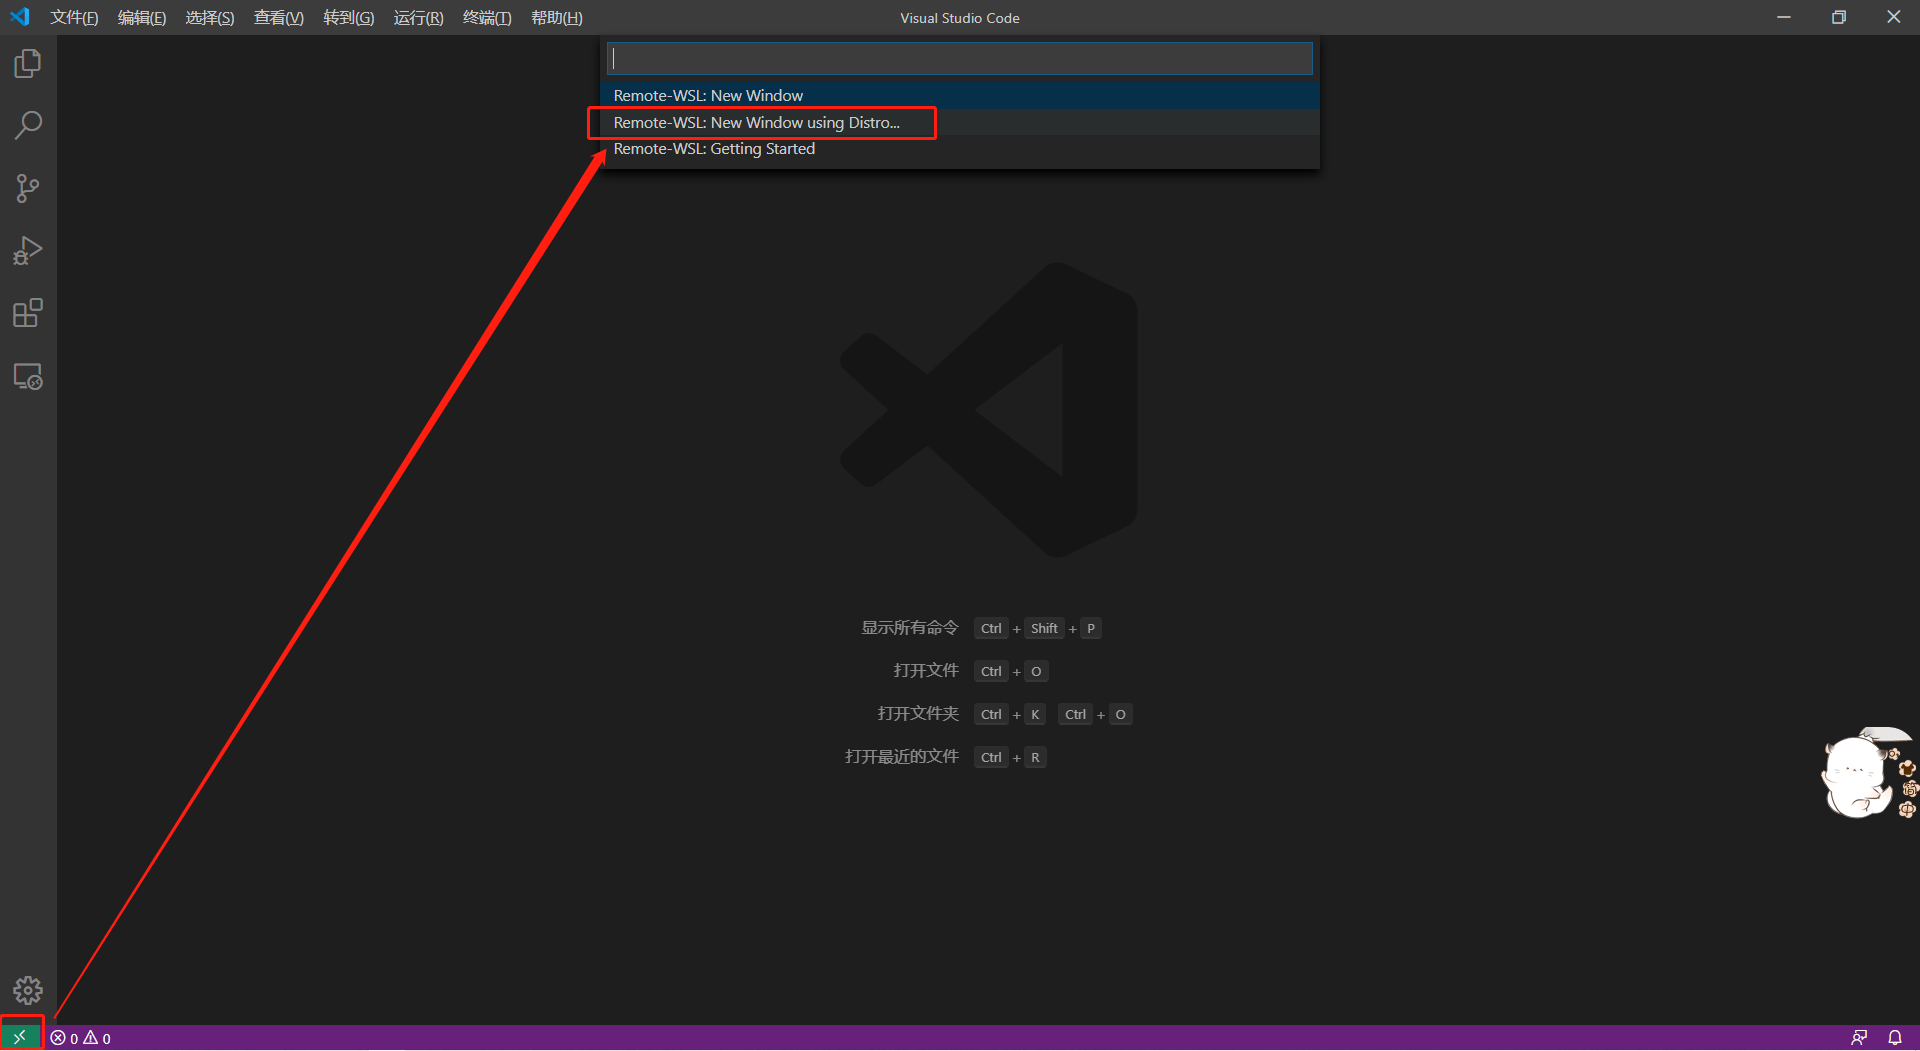
选择你的 Linux 发行版本
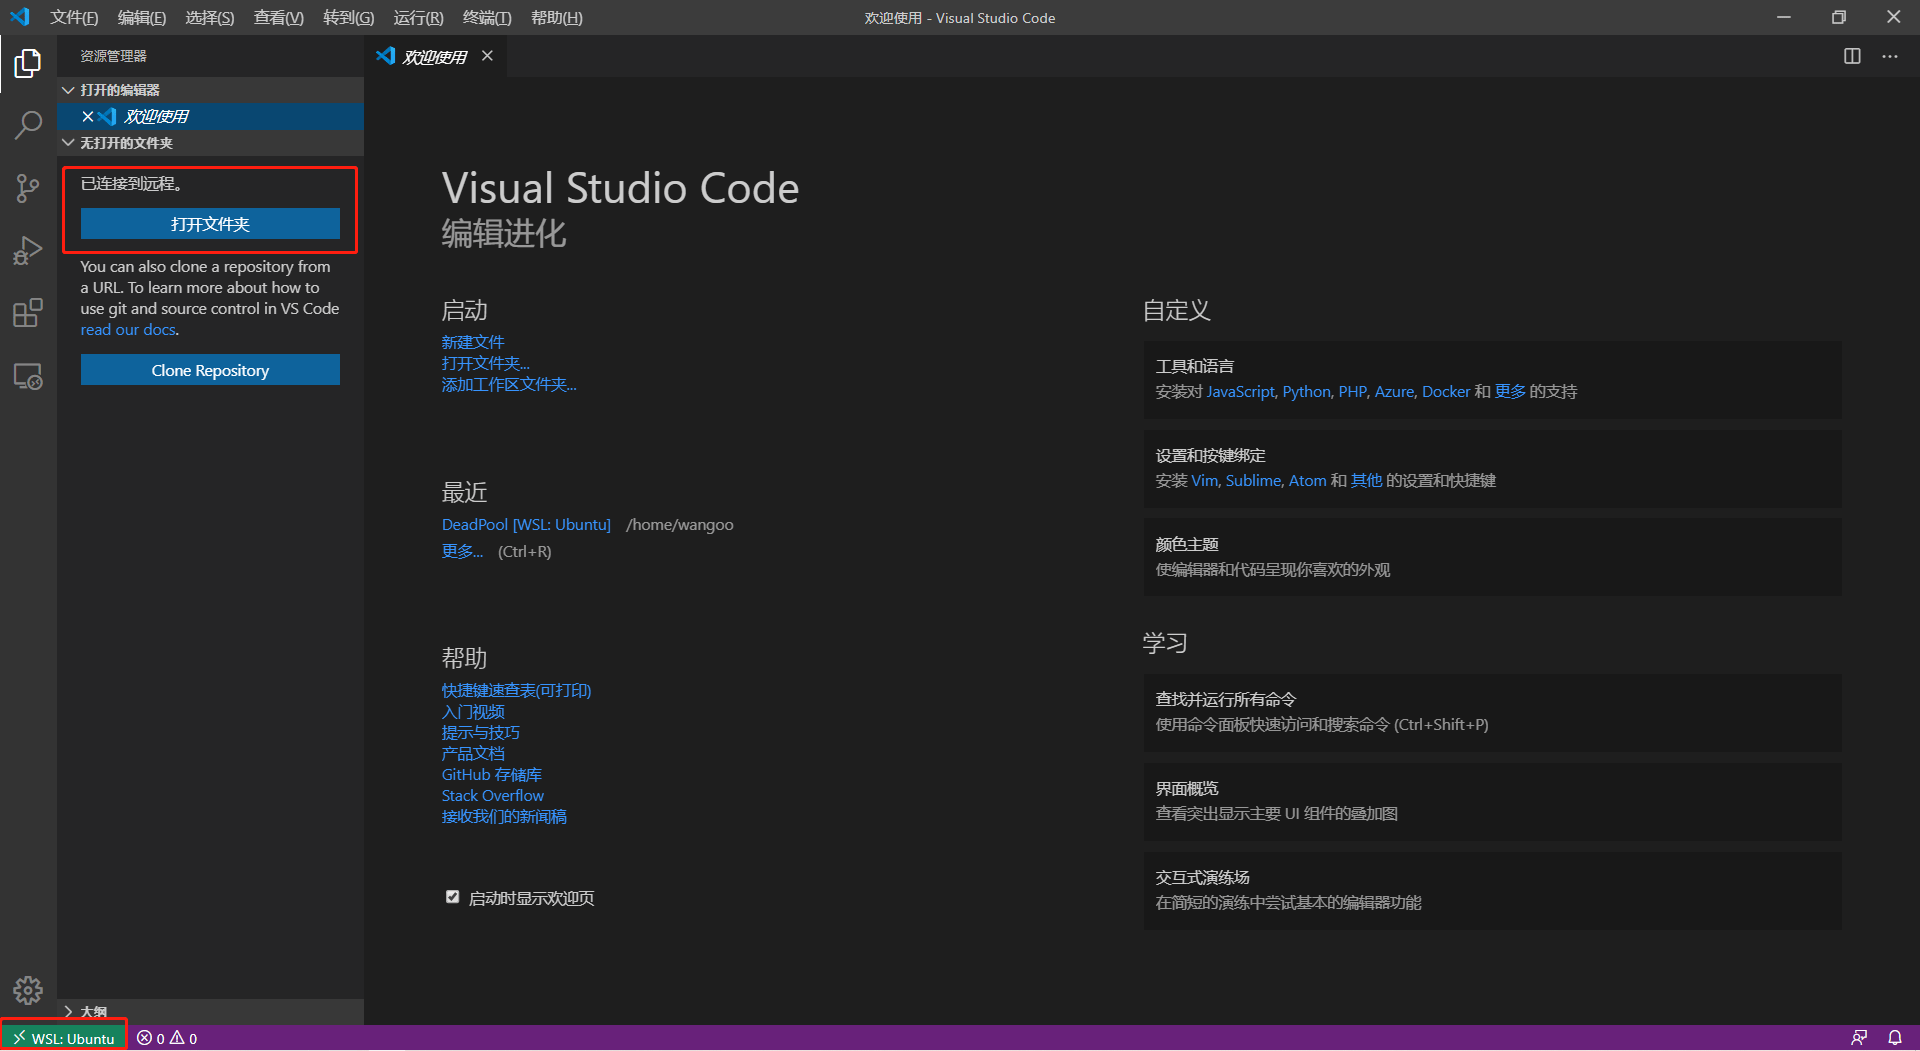
VS Code 将会重新启动到该模式

配置 Python 支持

然后我们可以看到在项目中生成了settings.json文件,这时候我们可以更改Python的解释器位置,到我们的virtualenv中
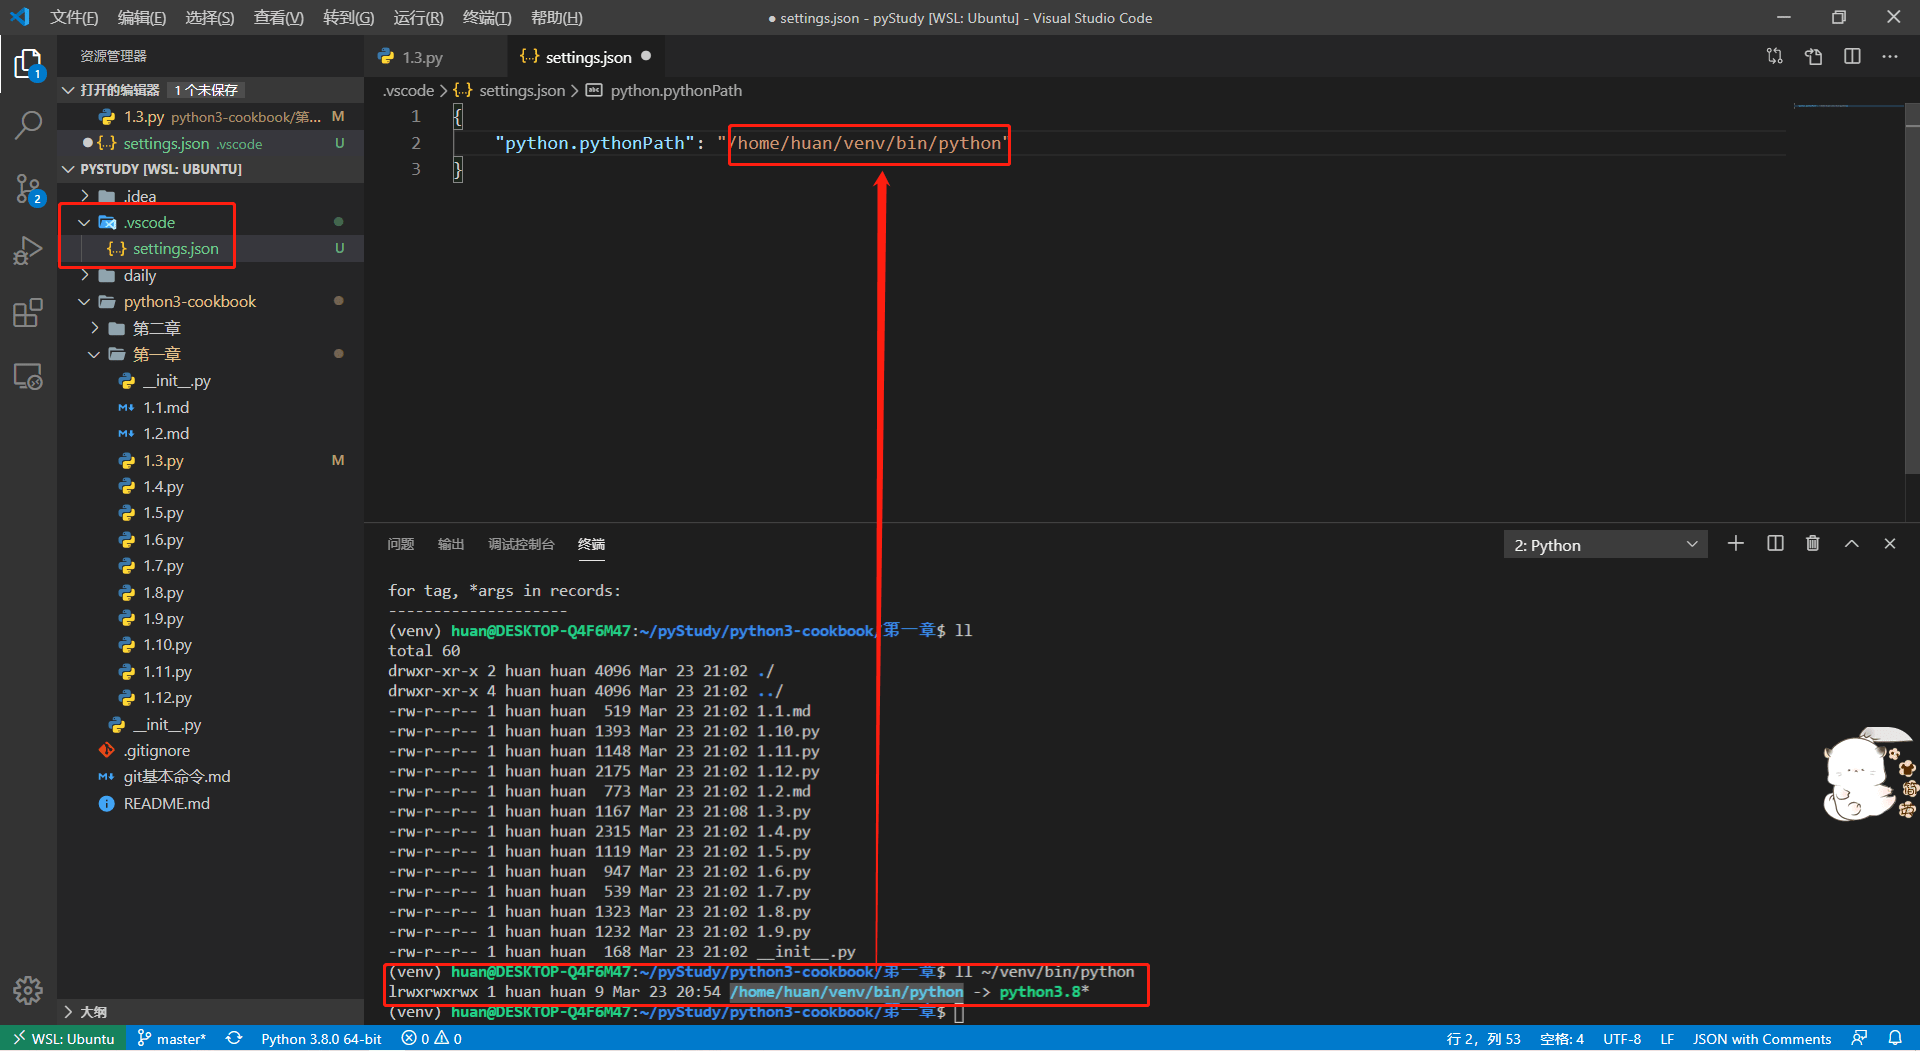
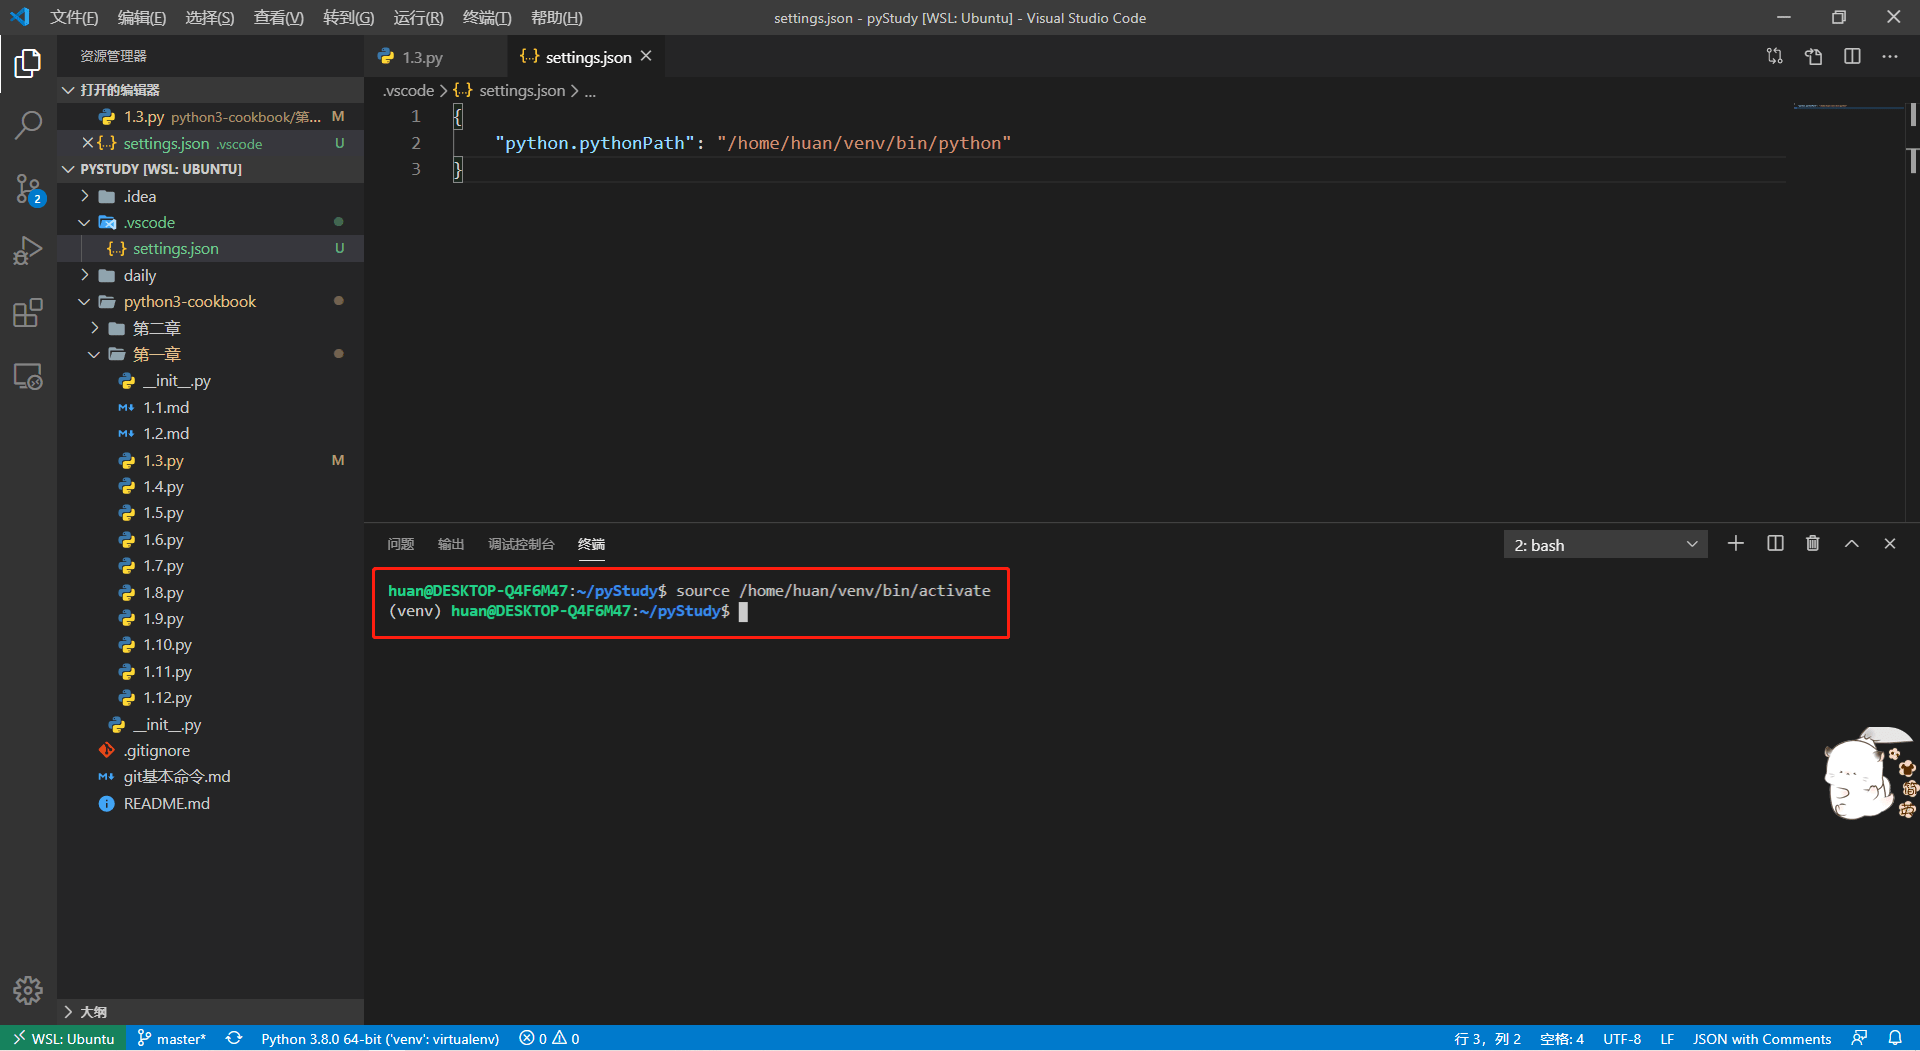
这样我们的VS Code开发环境就搭建好了,每次打开终端就会自动启用 virtualenv 环境
总结
如果你们按照上述的流程走下来,将你的 Windows 环境搭建好,那么恭喜你,你的 Windows 已经完全转化成开发者利器了,再也不用说买前生产力,买后打游戏了,顺便说一句,微软出品必属精品~
顺便说一下,下篇博客是 Powershell 和 Bash 的美化教程